Where to find your program applications
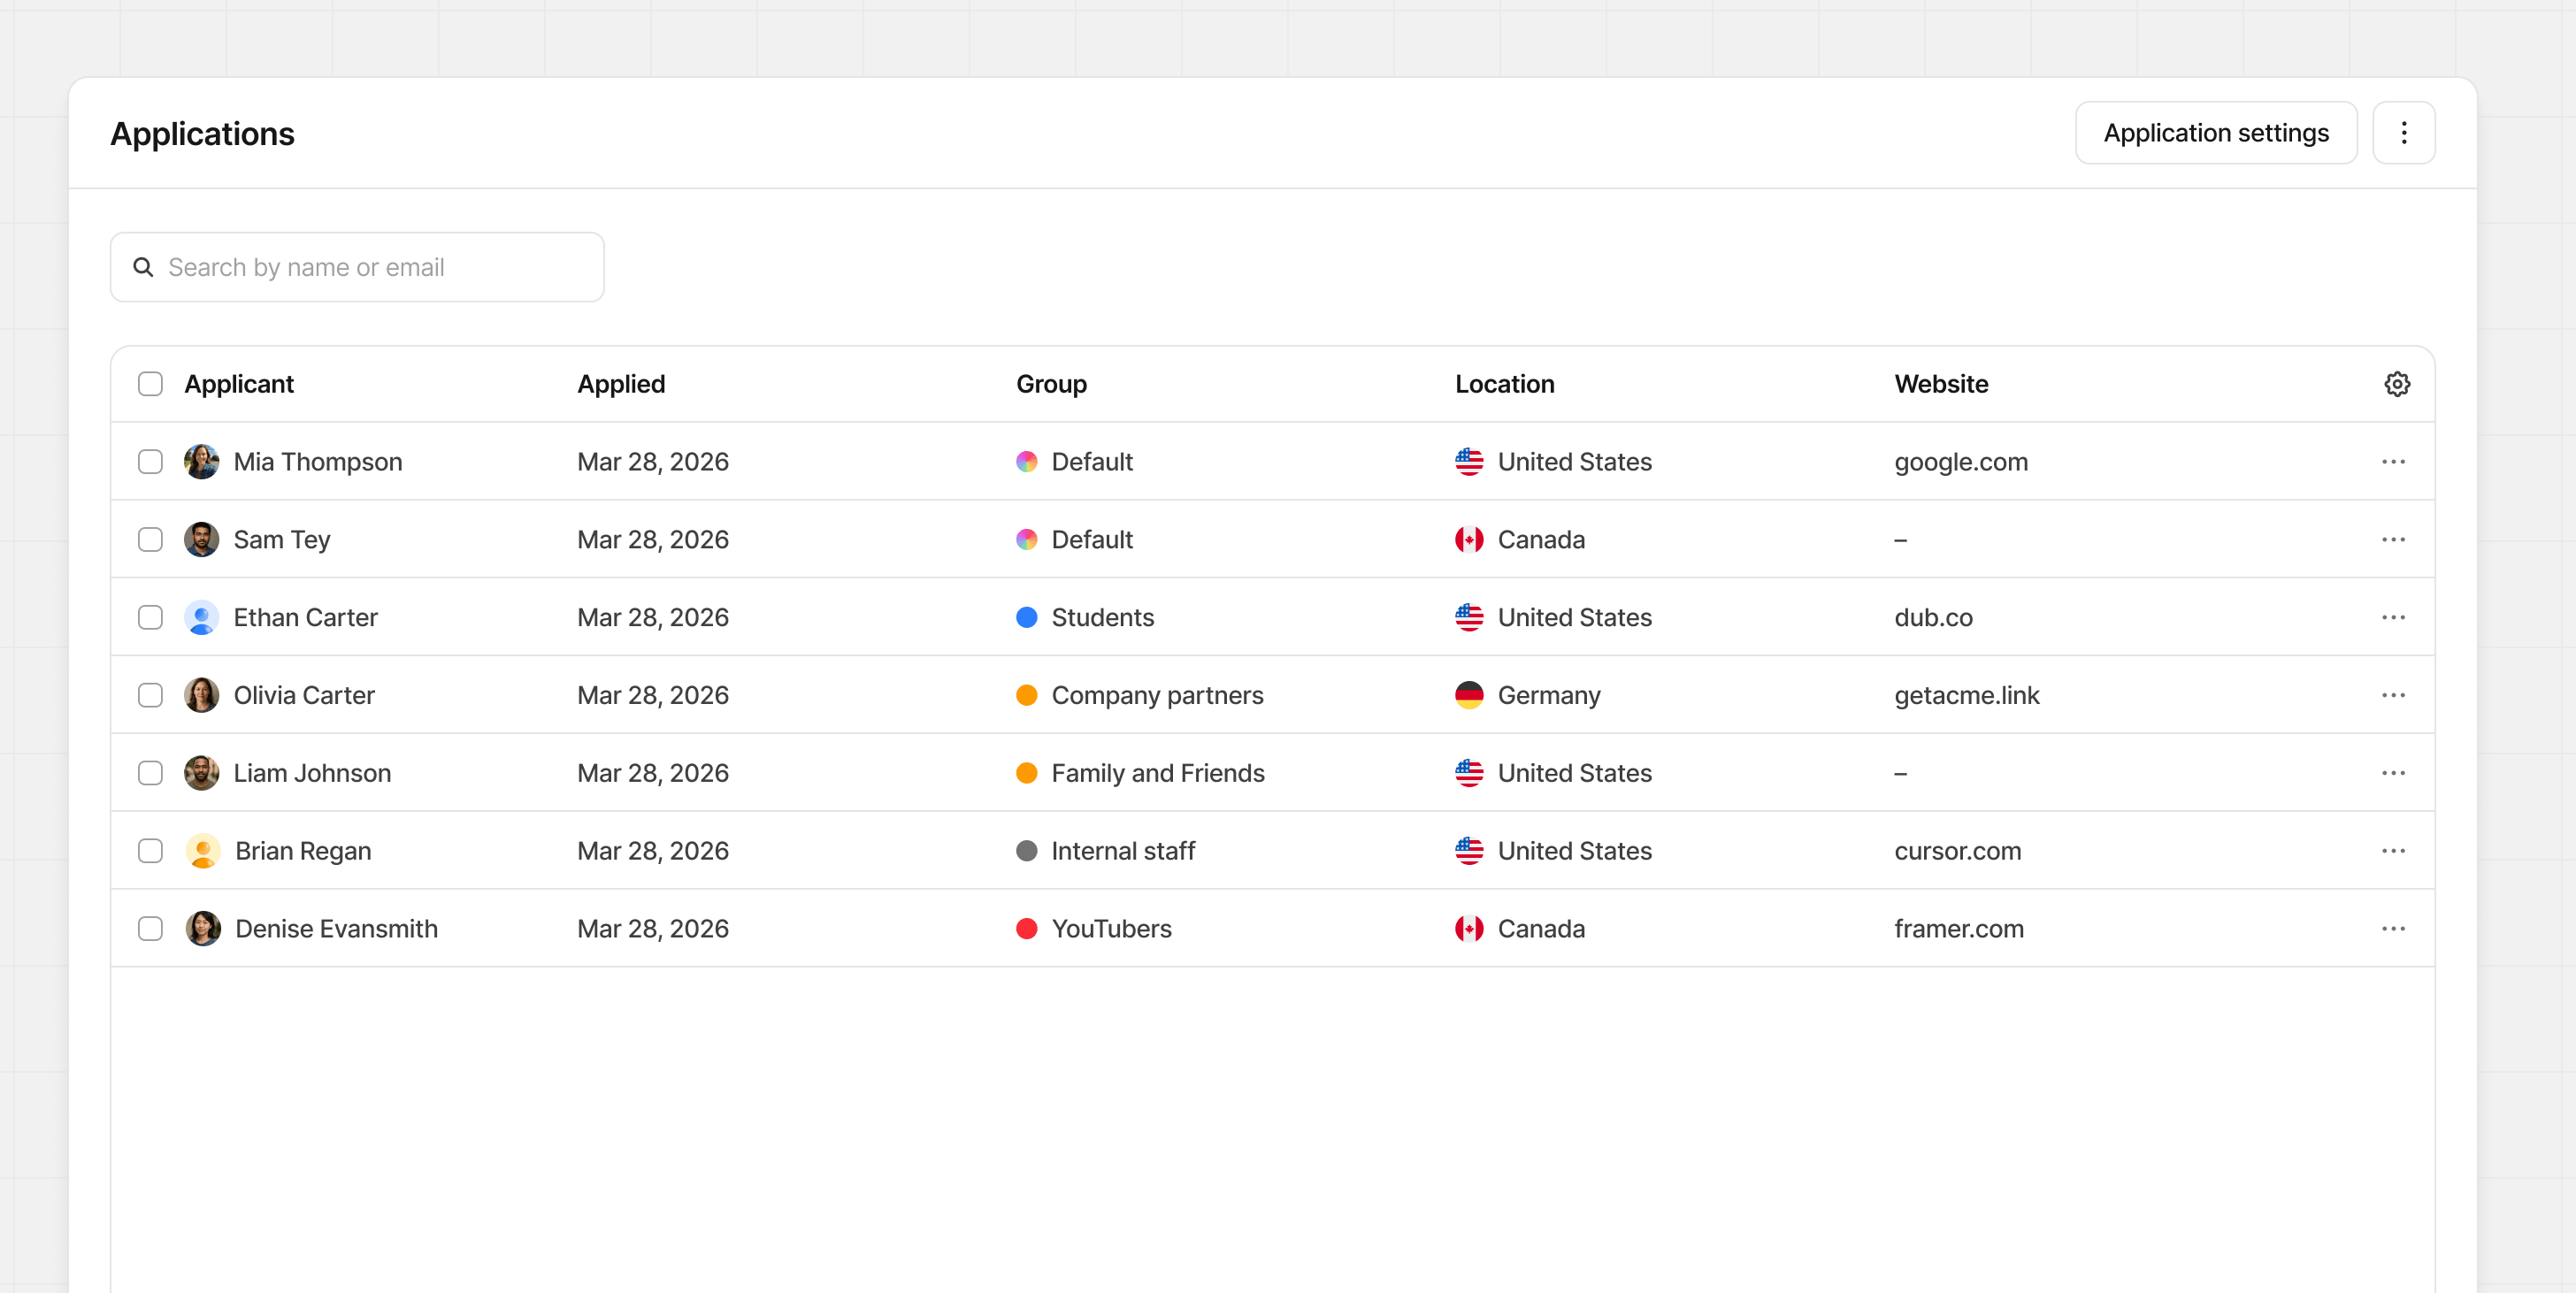
In the Partner Program menu, click Applications to view your pending applications. We also show you a count badge, so you can see how many pending applicants you have at all times.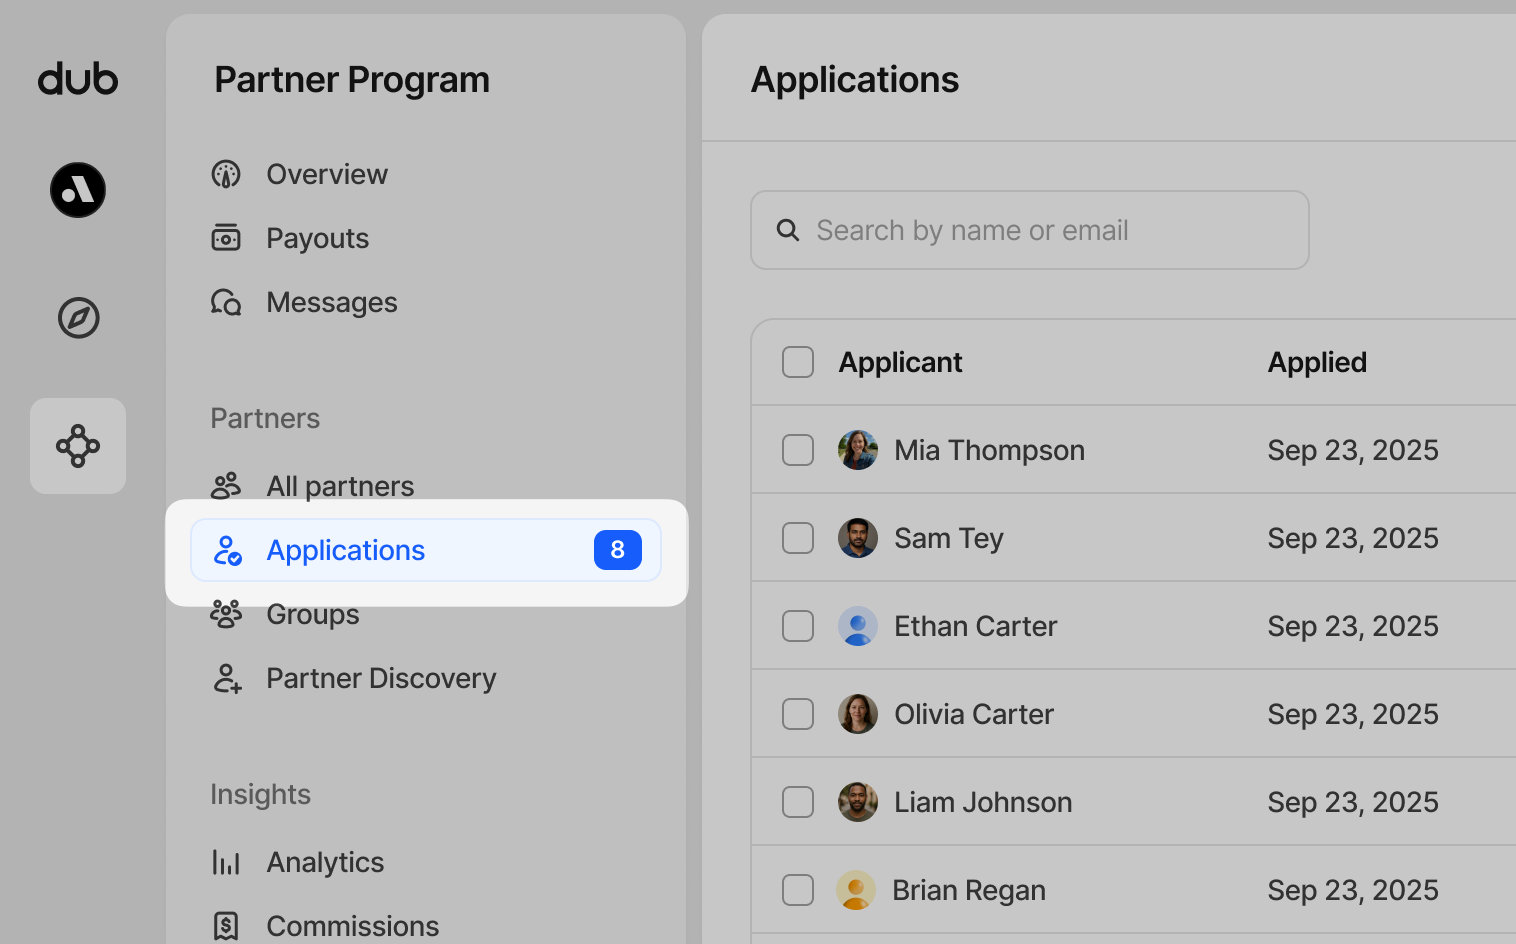
Applicant table
On your applications table, you’ll be able to view key information, including:- The applicant’s name
- When they applied
- Their provided location
- Their website and social media profiles
Application settings
Click the Application settings button in the top right corner to configure your application and marketplace settings.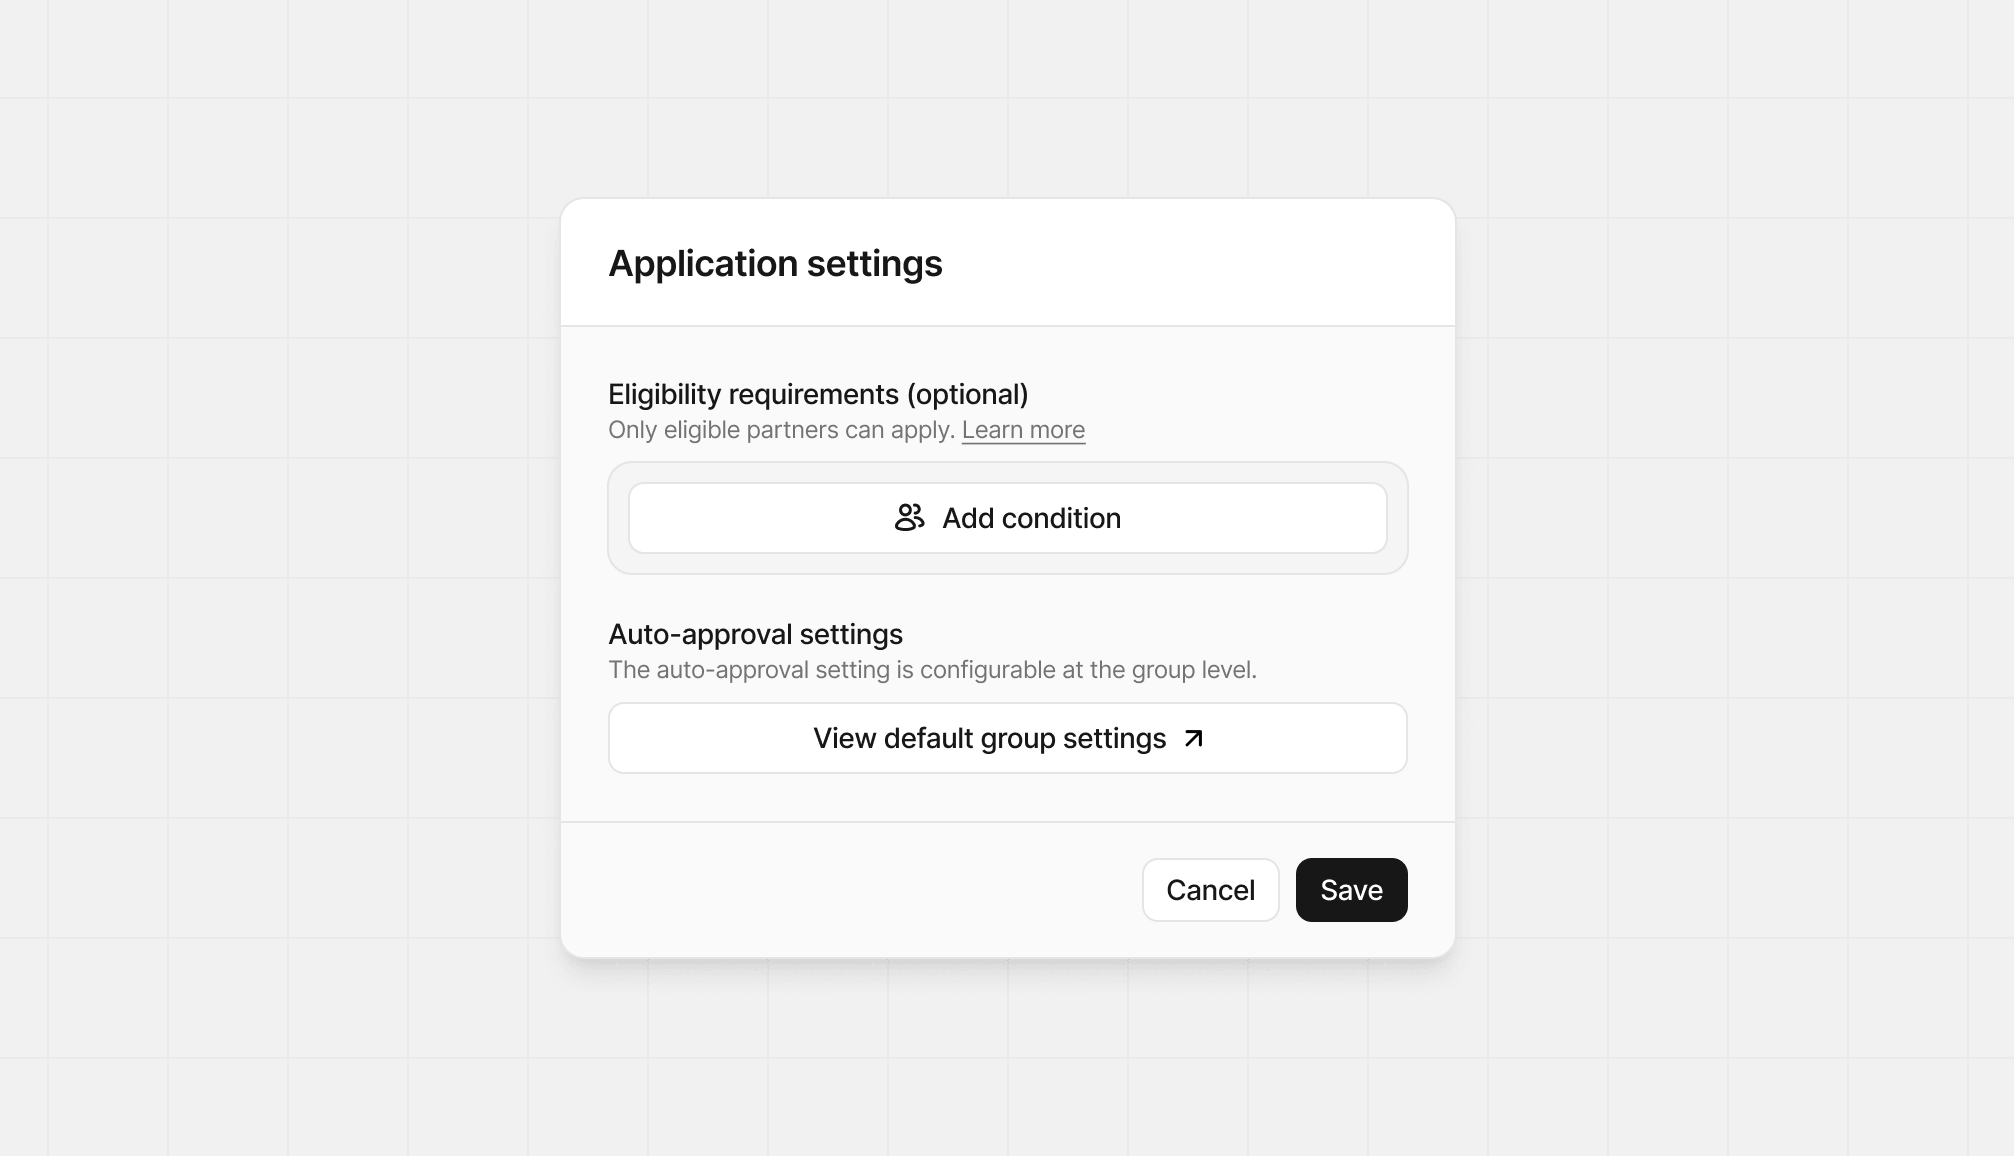
Eligibility requirements
Adding eligibility criteria allows you to define the conditions that must be satisfied for an applicant to apply. Click Add condition to start defining your criteria.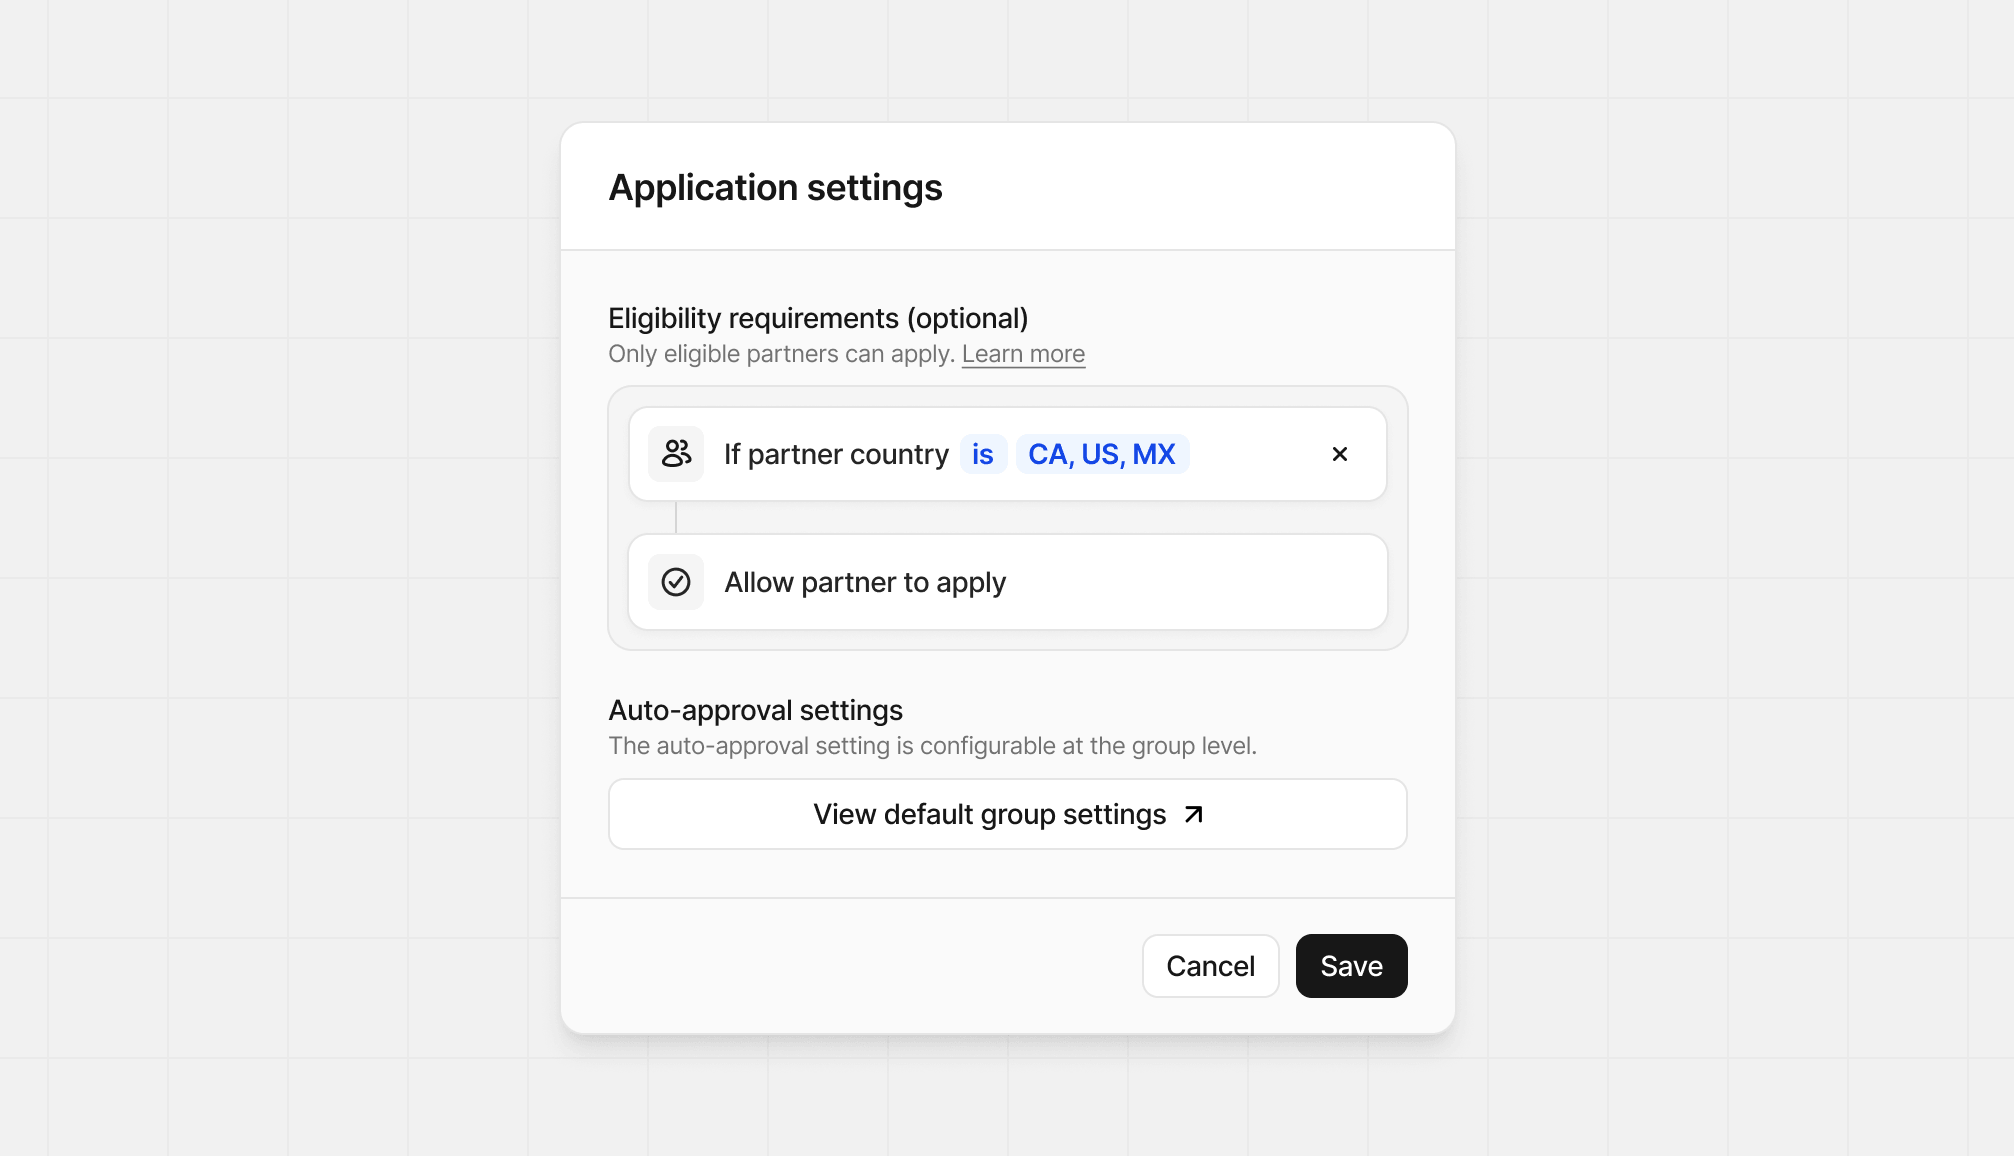
Marketplace settings
If your program is listed in the Dub program marketplace, click the Marketplace toggle to access the marketplace settings. Here you can set the description that’s shown to partners, and categories to help find your program more easily.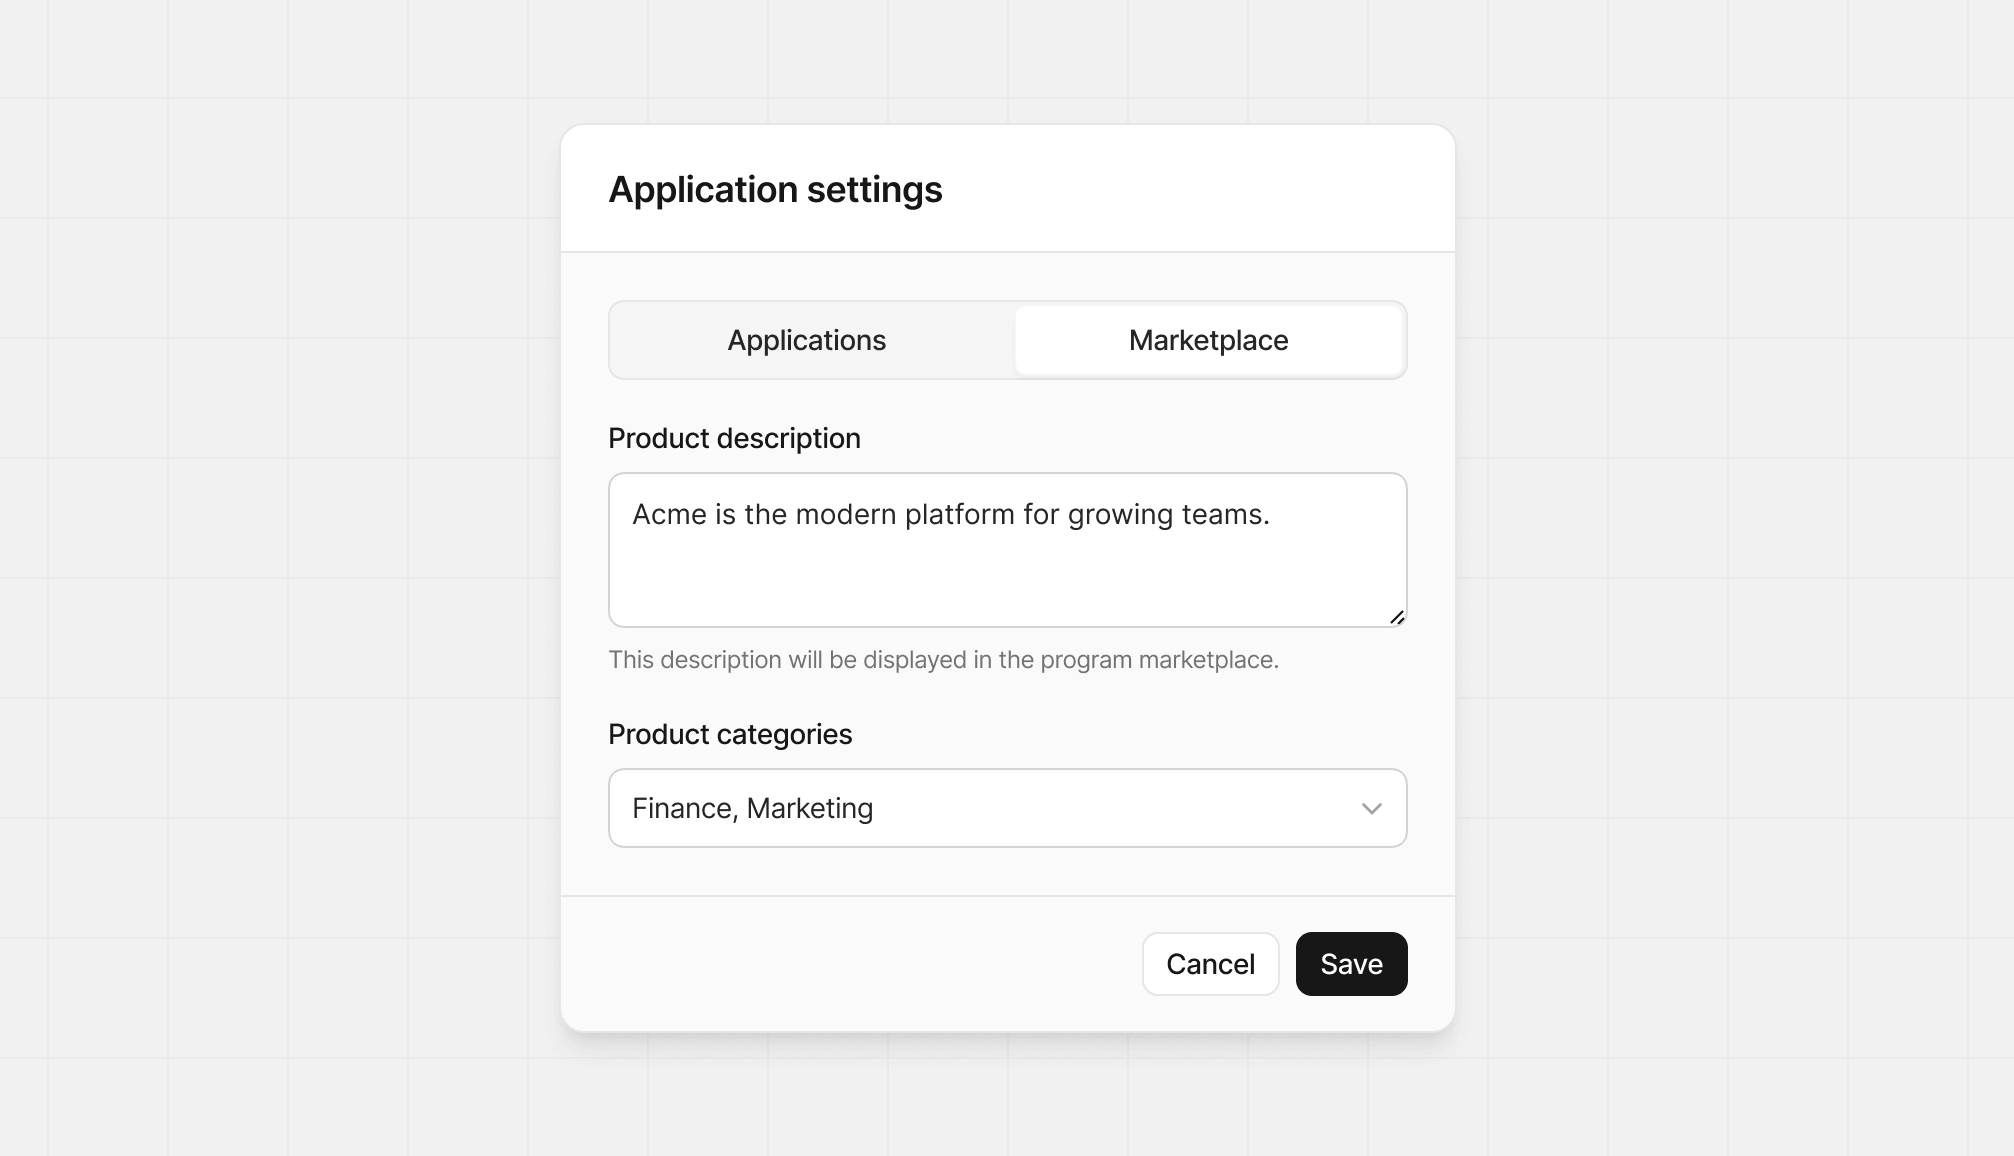
- Finance
- Marketing
- AI
- Development
- Design
- Productivity
- Ecommerce
- Security
- Education
- Health
- Consumer
Partner application
When the application is open, we show additional information collected during the application process and their account creation. This is a good opportunity to get to know more about this partner and their background if they’ve provided it.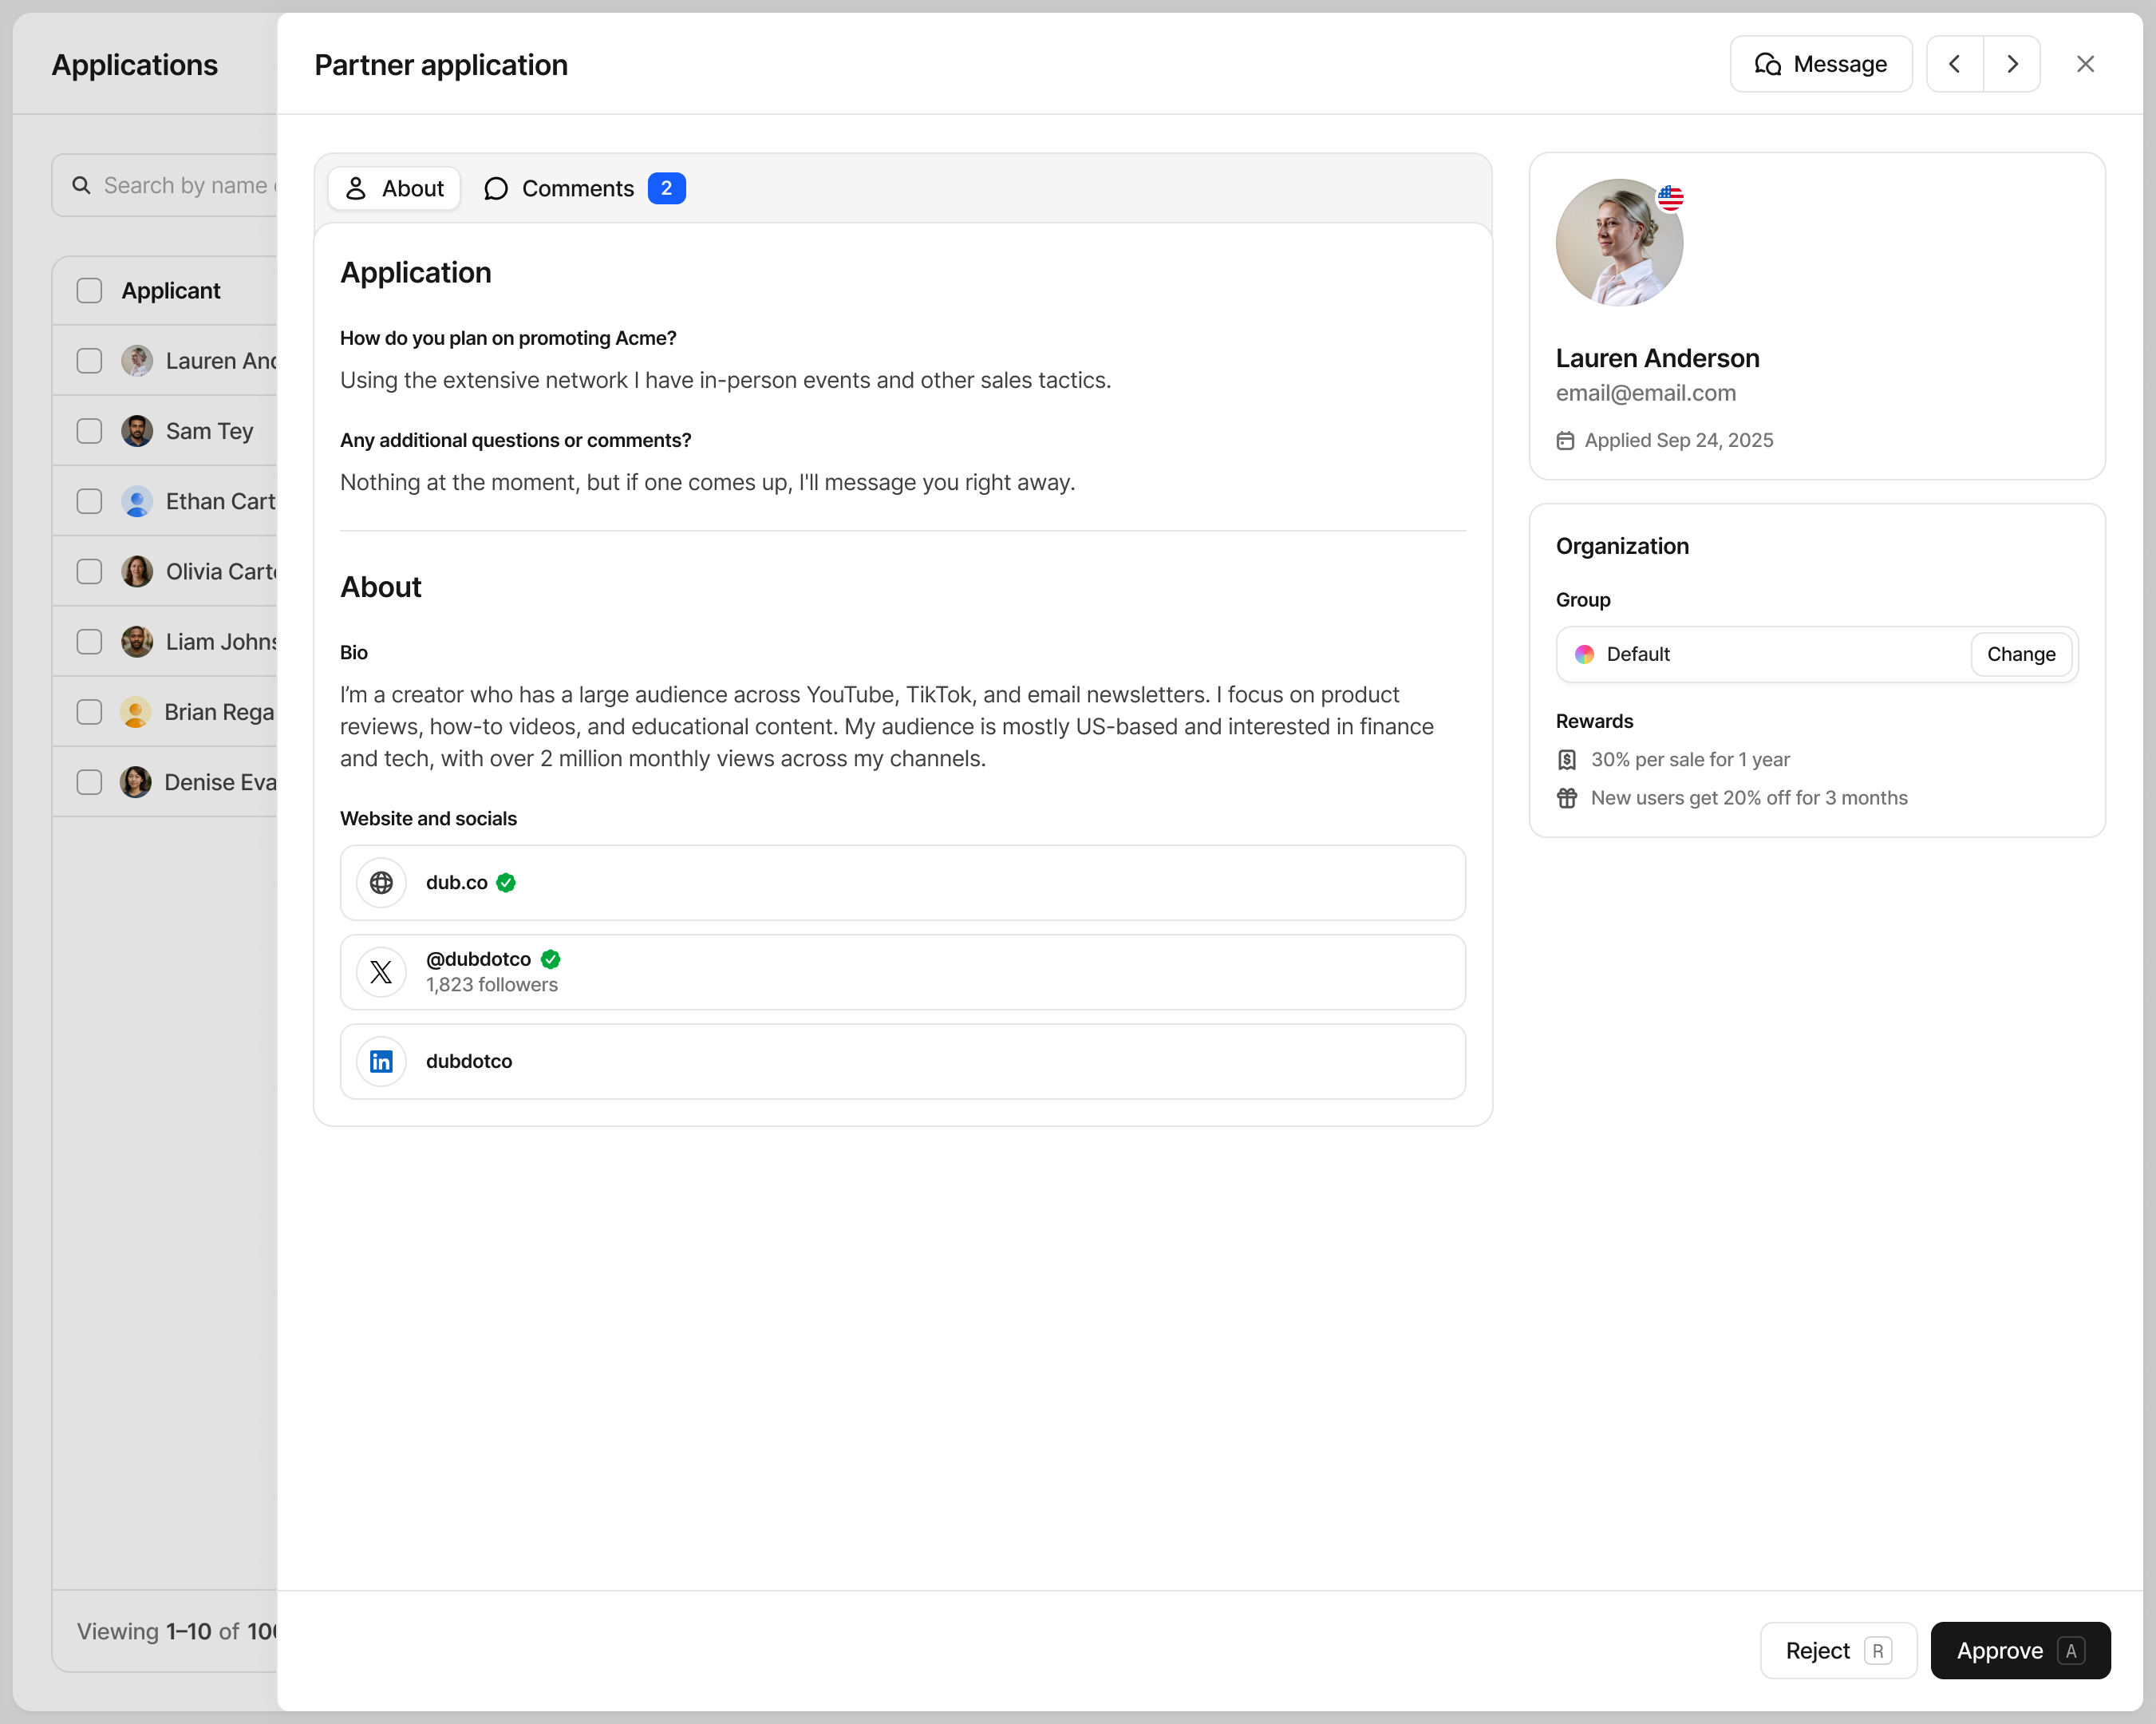
Online presence
During account creation, we allow the partners to provide their website and any social media accounts. As part of this, we also allow partners to verify each of these items to increase trust with their application. Verification isn’t required, but encouraged as it reduces the time it takes to review applications.Verified badge
If a partner has verified their website or social media accounts, a green check mark badge will be shown beside the item. In some scenarios, it will also show statistics from that verified account.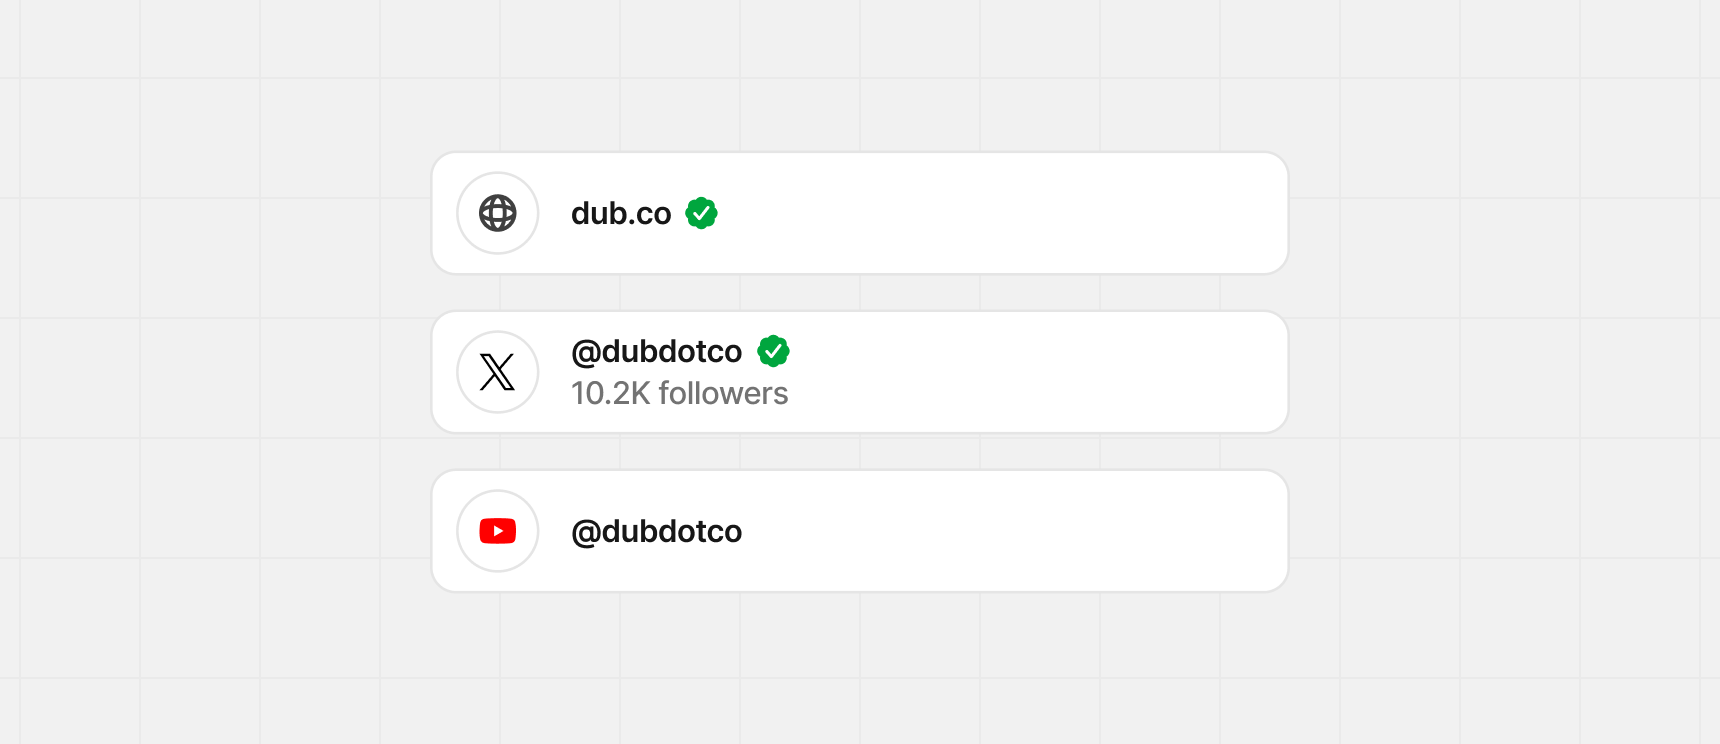
Additional information
The partner card will provide additional information about the partner, helping you understand how their profile is set up, and optional details they’ve provided.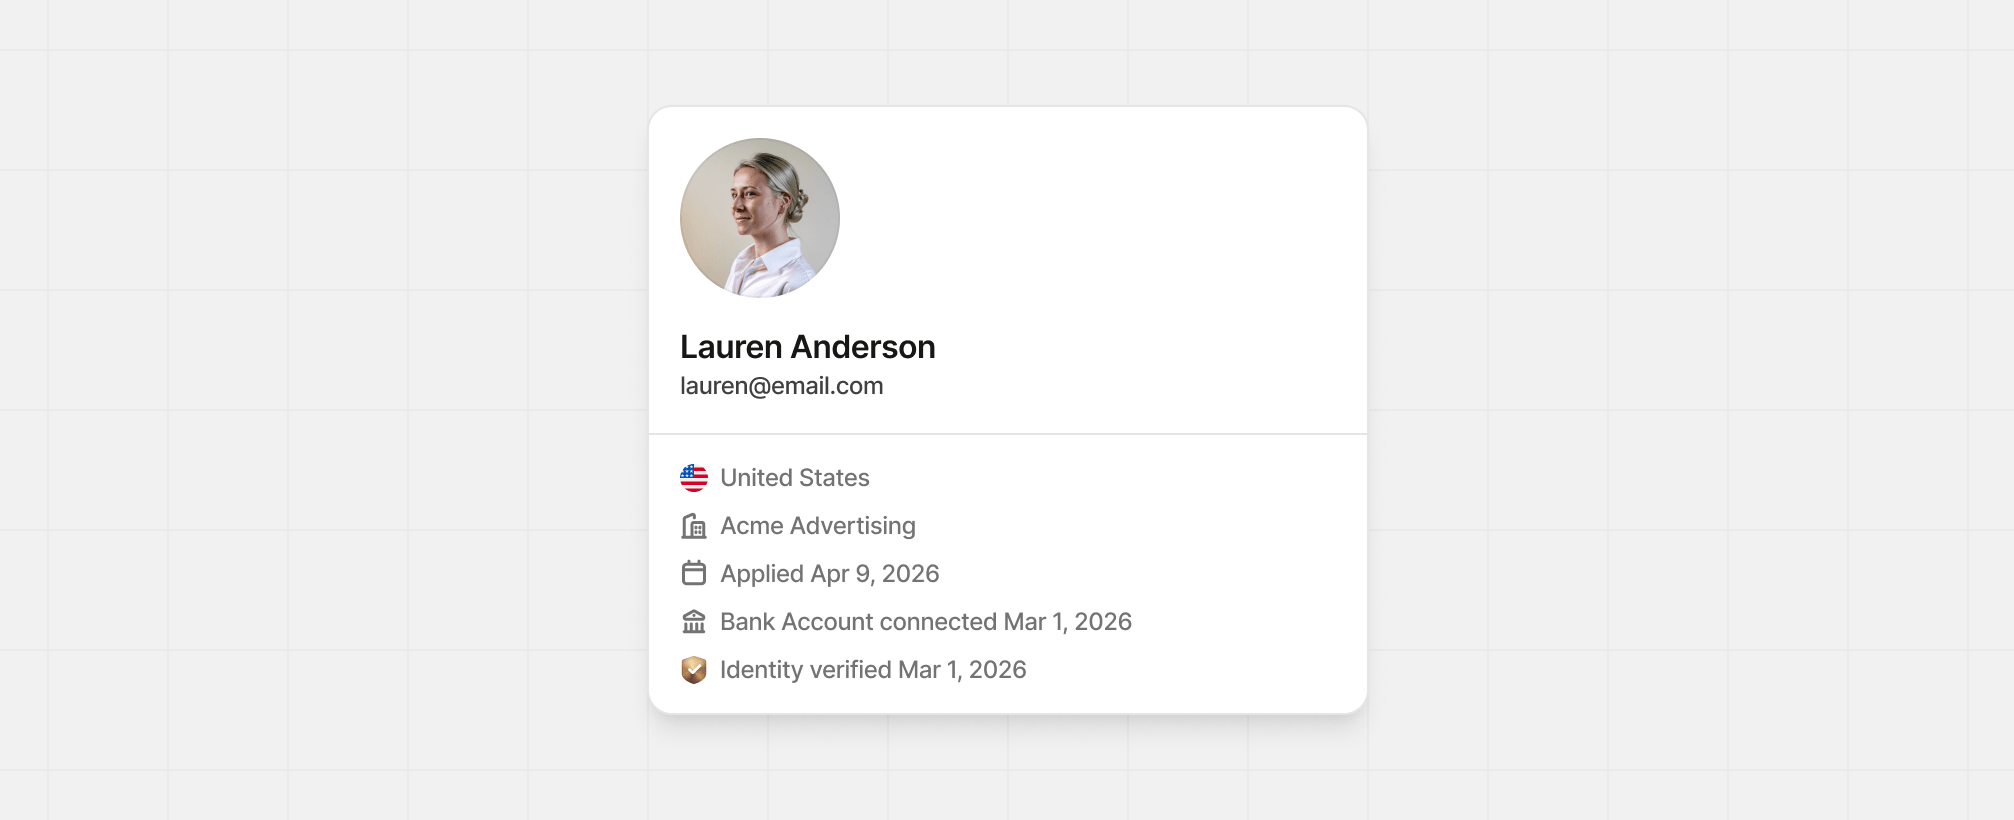
Application history
If a partner previously applied and was rejected, you can review their application history by clicking on the Application dropdown to select previous versions. This is helpful to see if the application has changed since the last time it was reviewed, and if feedback provided has been addressed. When viewing historical applications, you can see the reason for rejection and additional notes if they were provided by your team.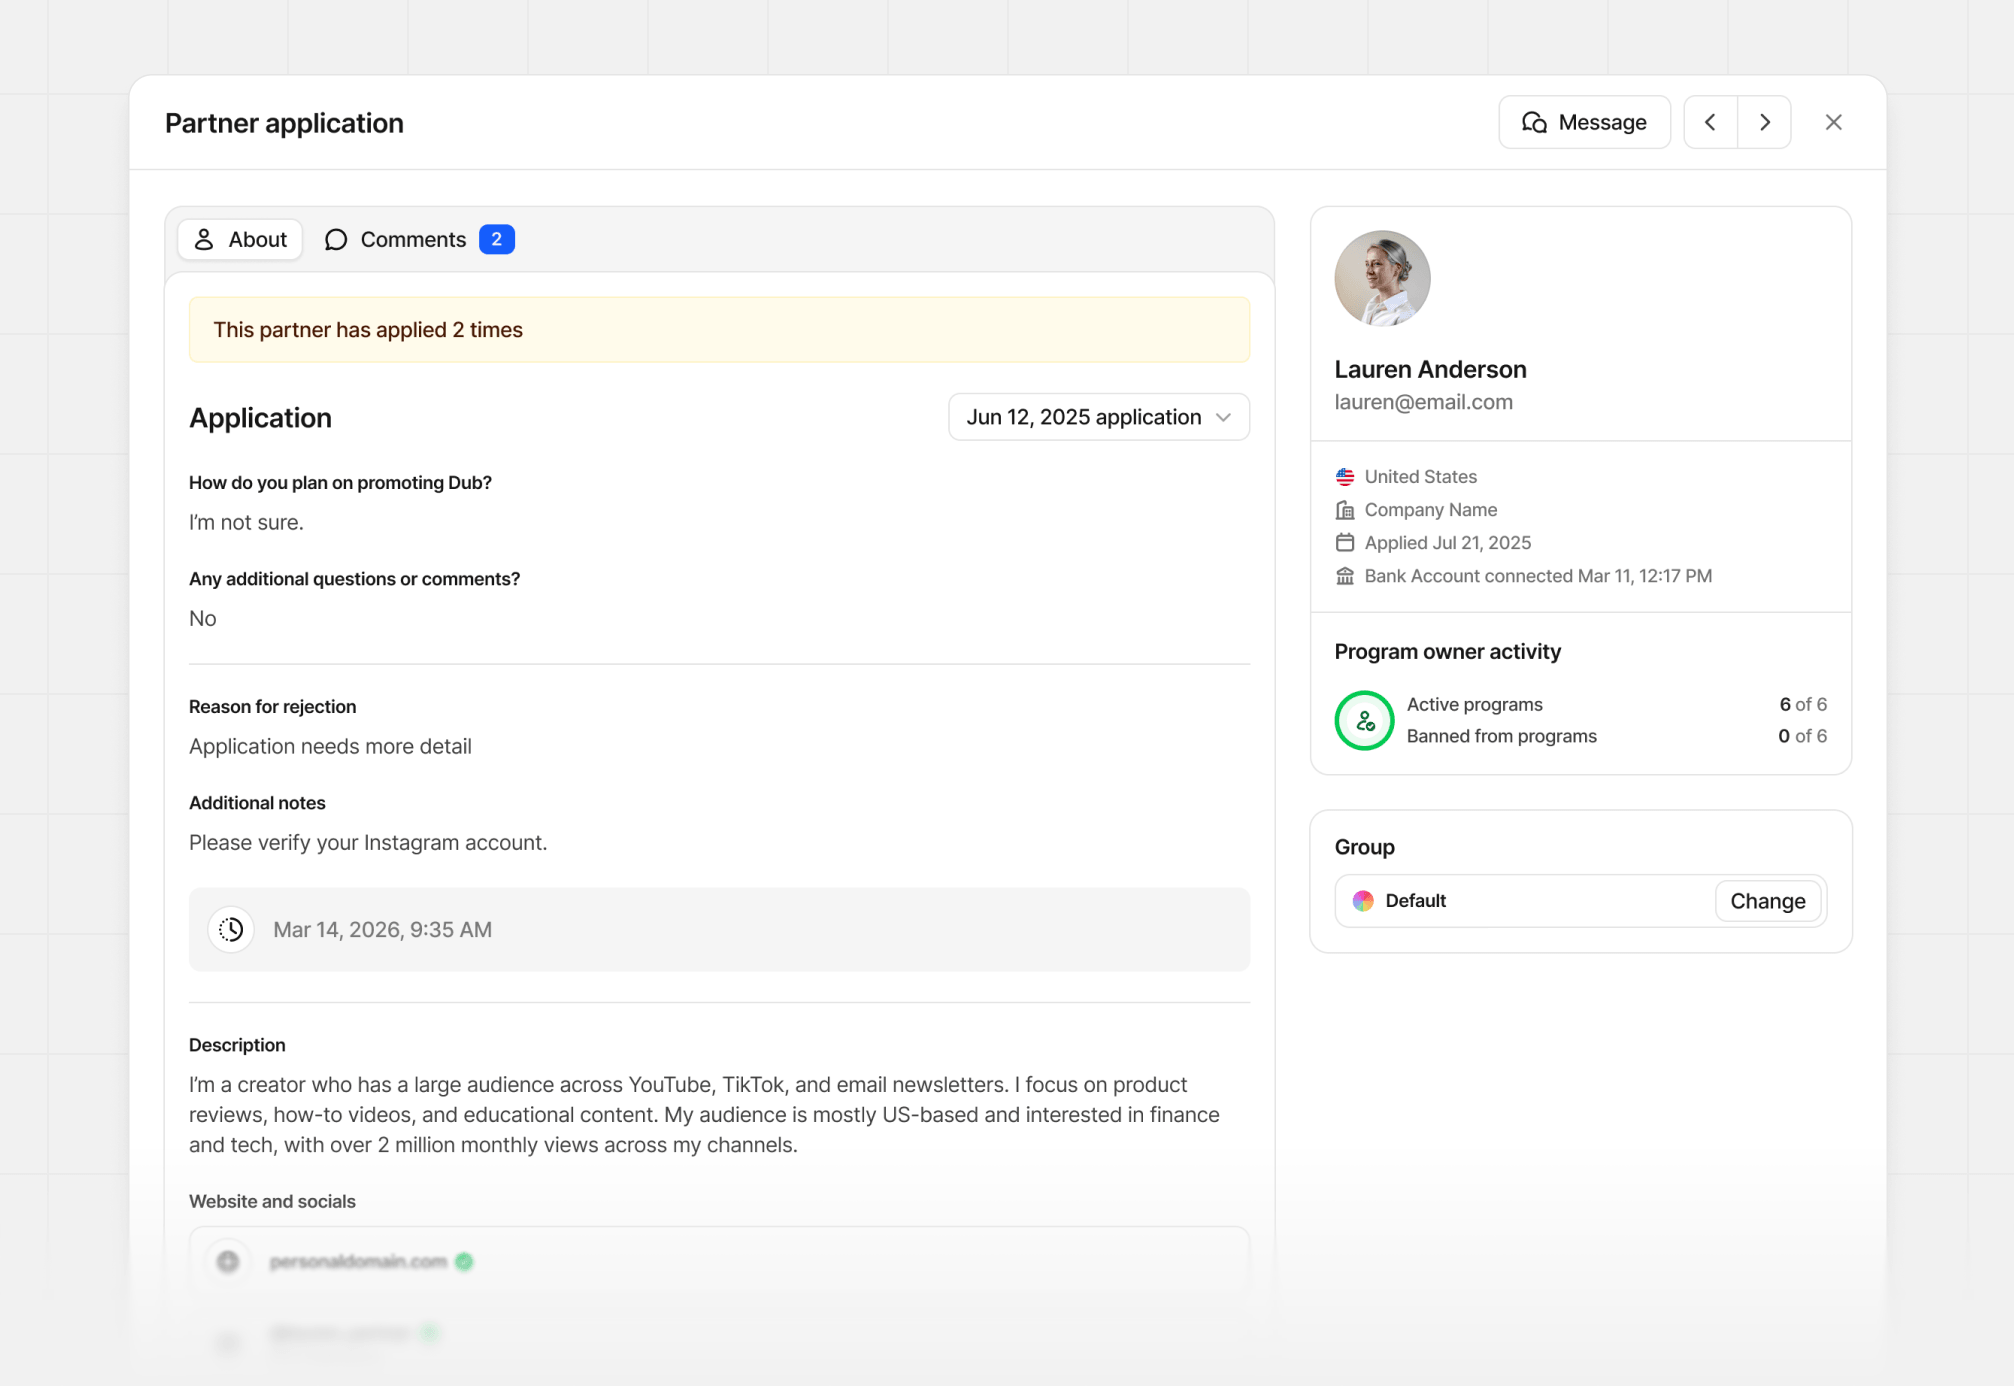
Applicant risk flags
Occasionally, certain applications to your program might trigger a risk flag that you should review before approving them. These signals are powered by our Fraud Detection feature and are meant to protect your partner program from risk and potential fraud.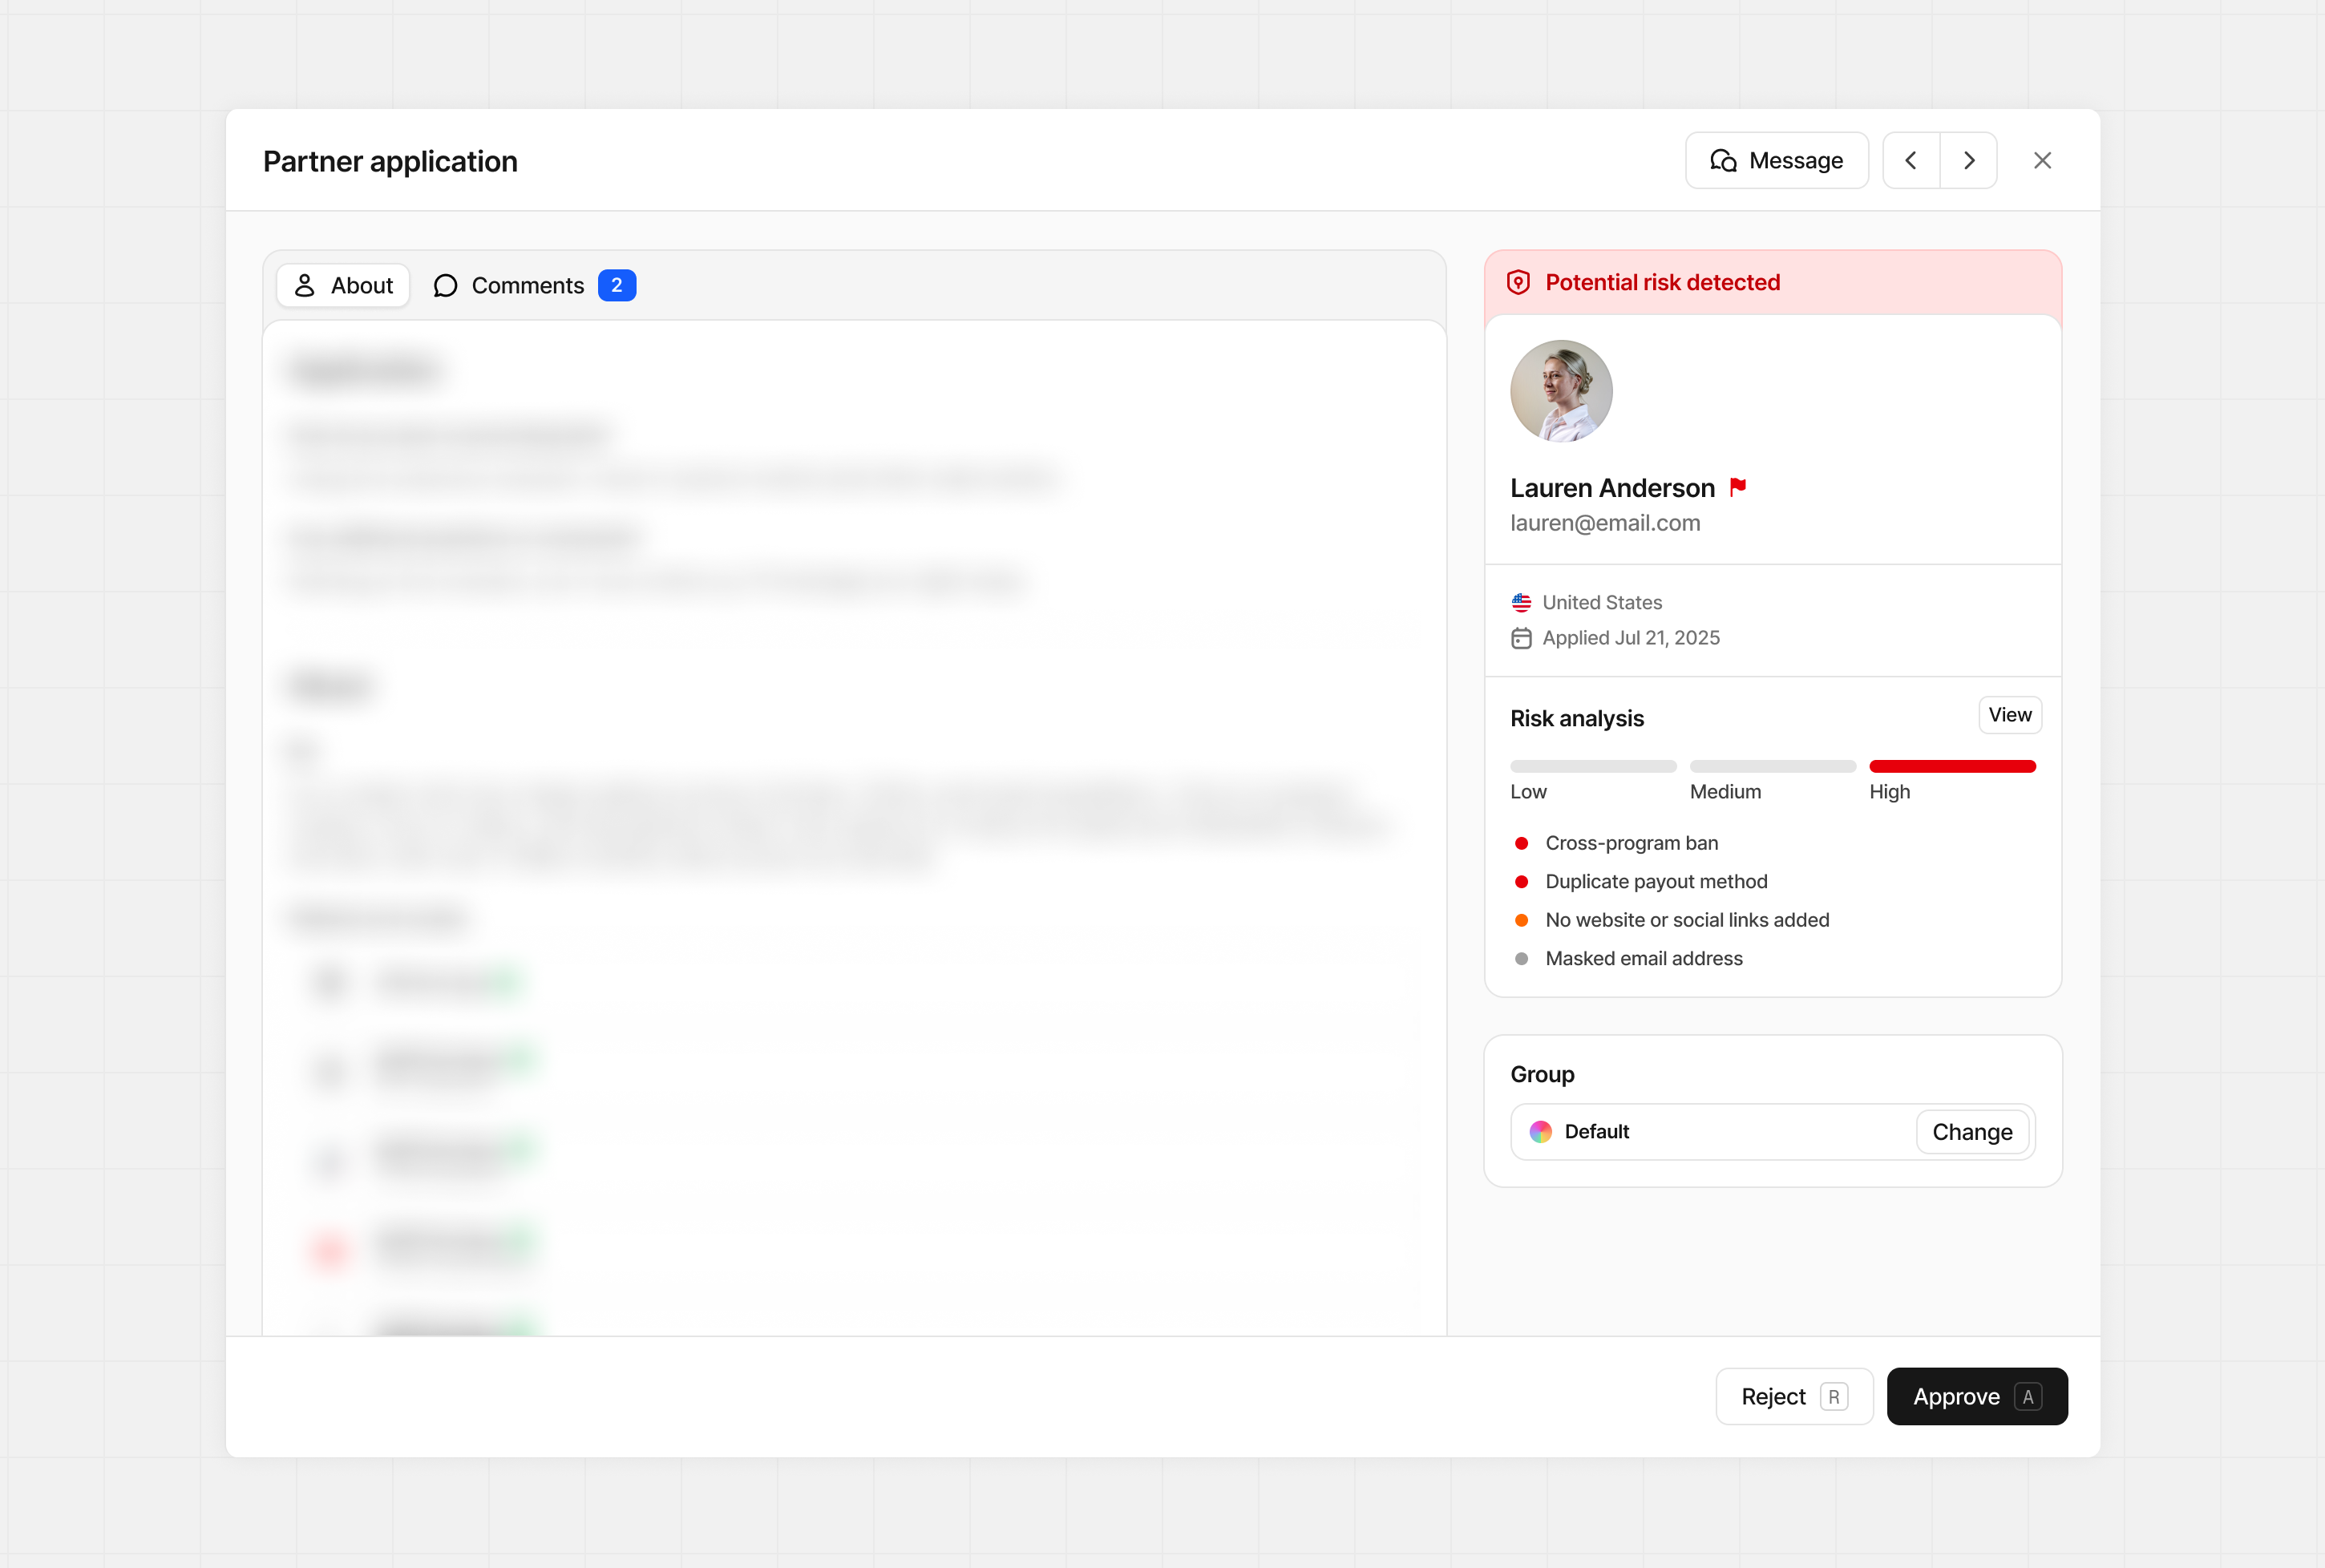
High risk
Indicates strong signs of potential fraud or past issues. These applicants need careful review before you move forward.Medium risk
Generally signals missing or incomplete information. These applicants need a closer look before approving.Low risk
These tend to be generally low risk and more common, but worth reviewing.Learn more about how Fraud Detection works on
Dub.
Approving applicants
There are 3 ways to approve pending applicants to your program:Via the application form
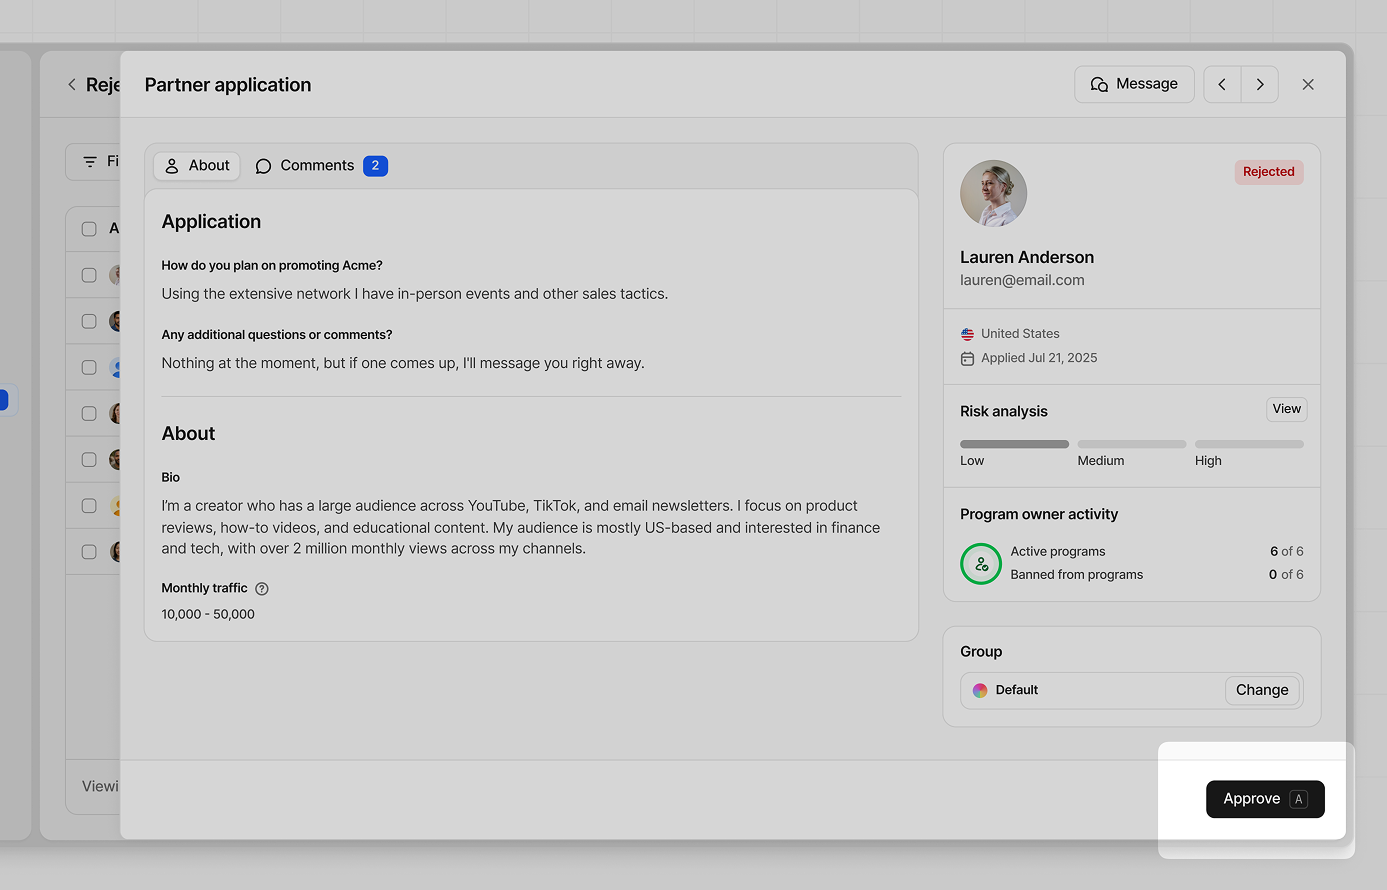
When the application form is open, click Approve at the bottom of the screen.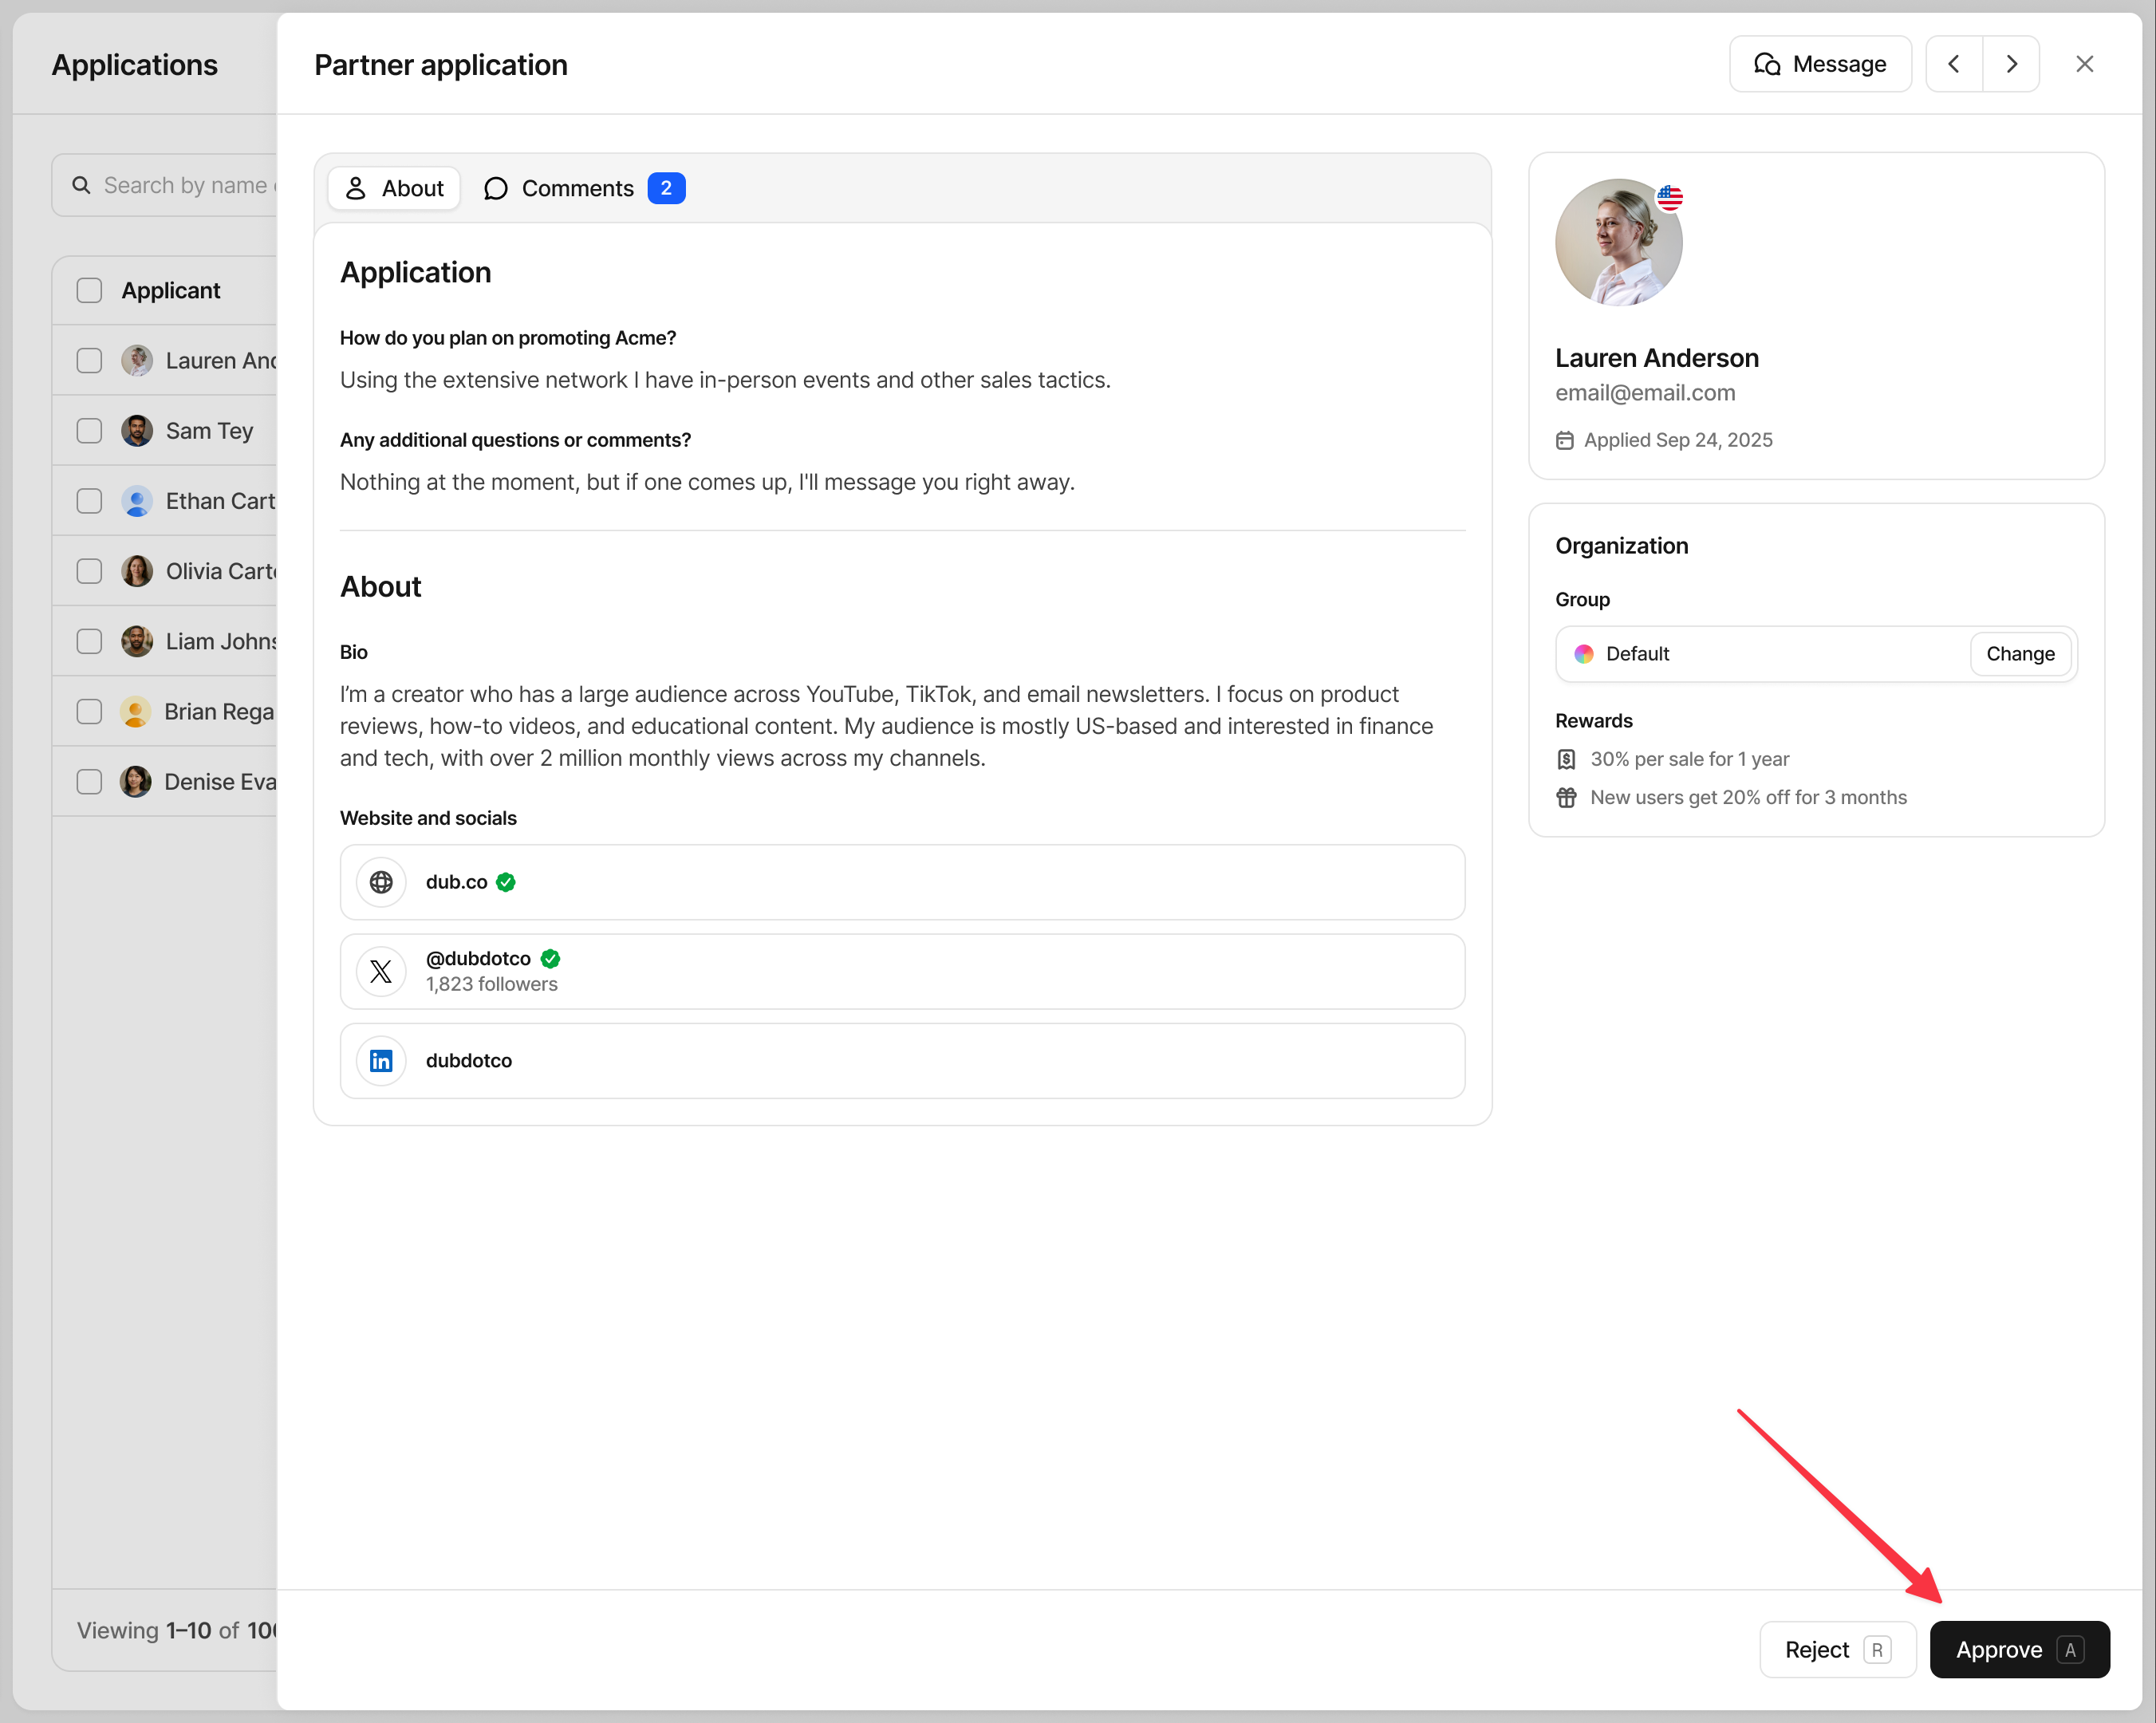
Bulk approve
If you have multiple applications, use the checkboxes to the left of each applicant to select any that are ready to be approved. You can also select all, by clicking the checkbox in the top left of the application table.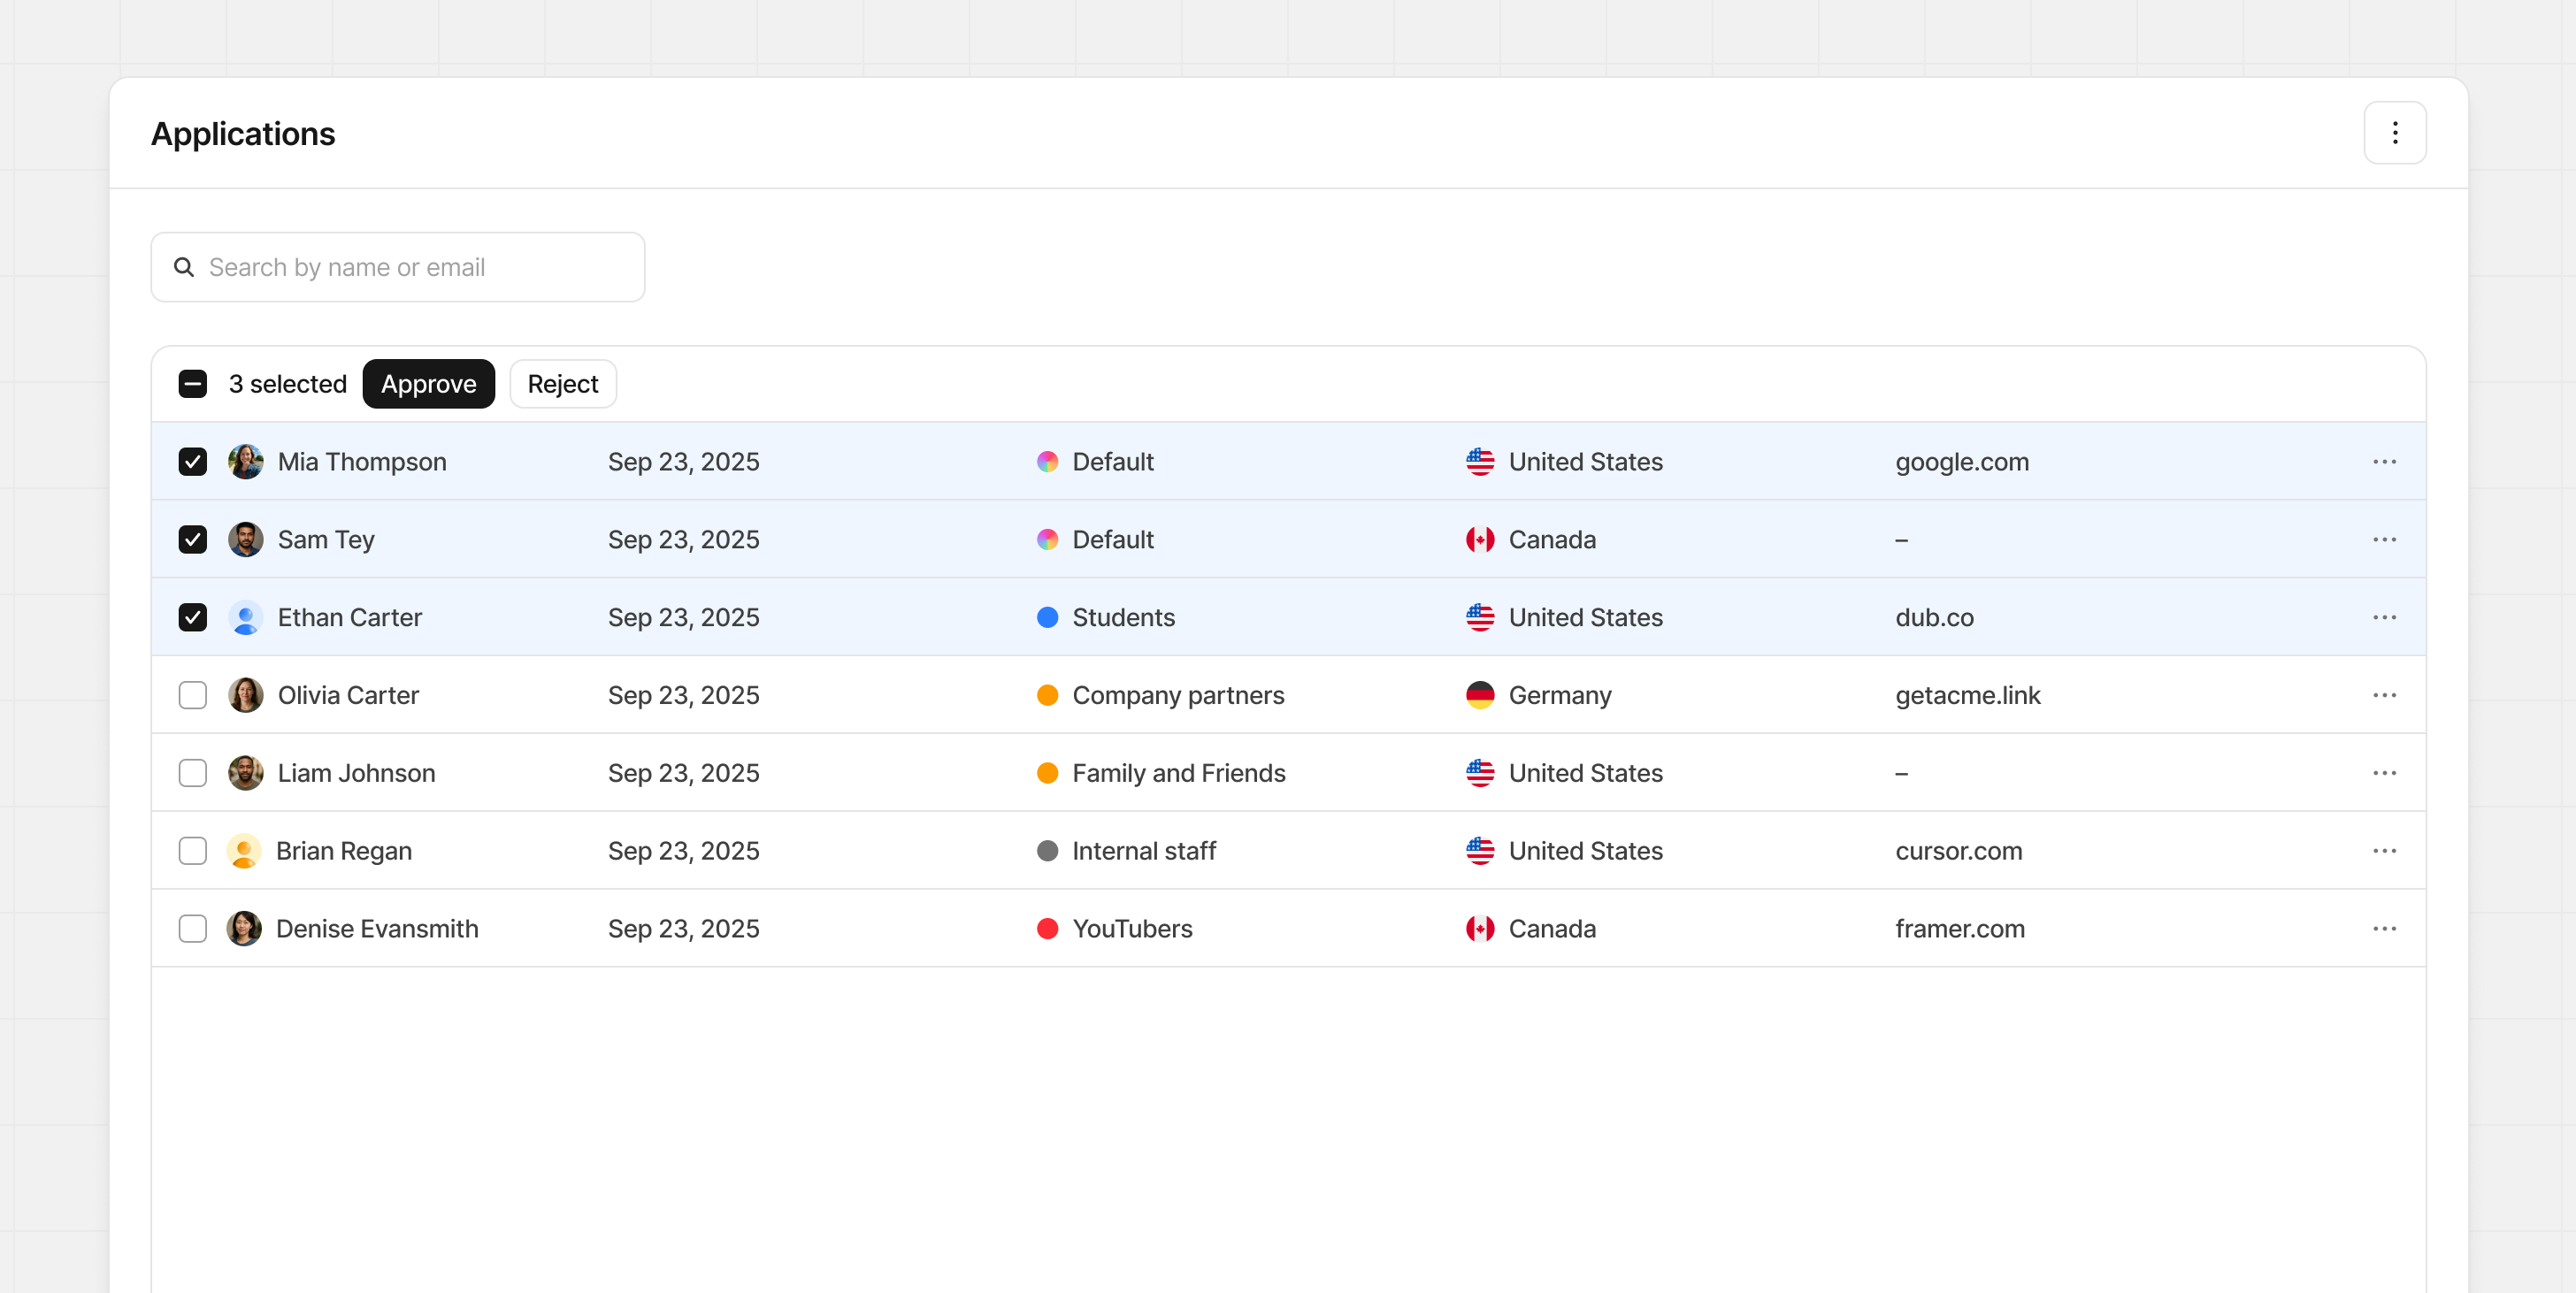
Auto-approve
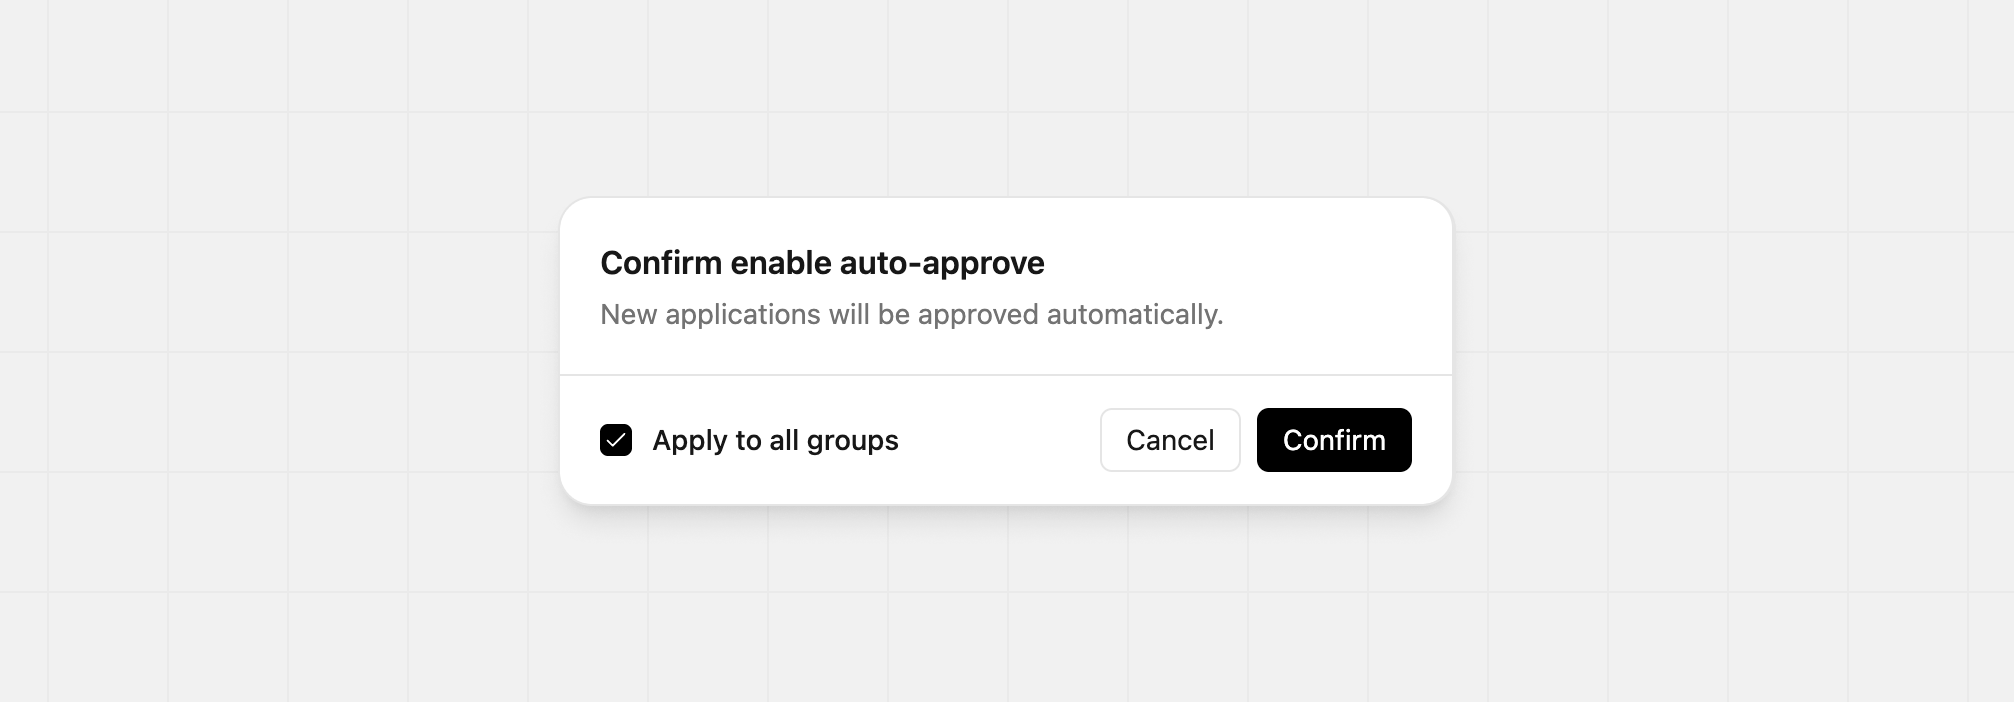
To auto-approve any new pending applications for your program, go to your individual groups and click on the Settings tab. Here you’ll find the auto-approve toggle in the “Additional settings” group.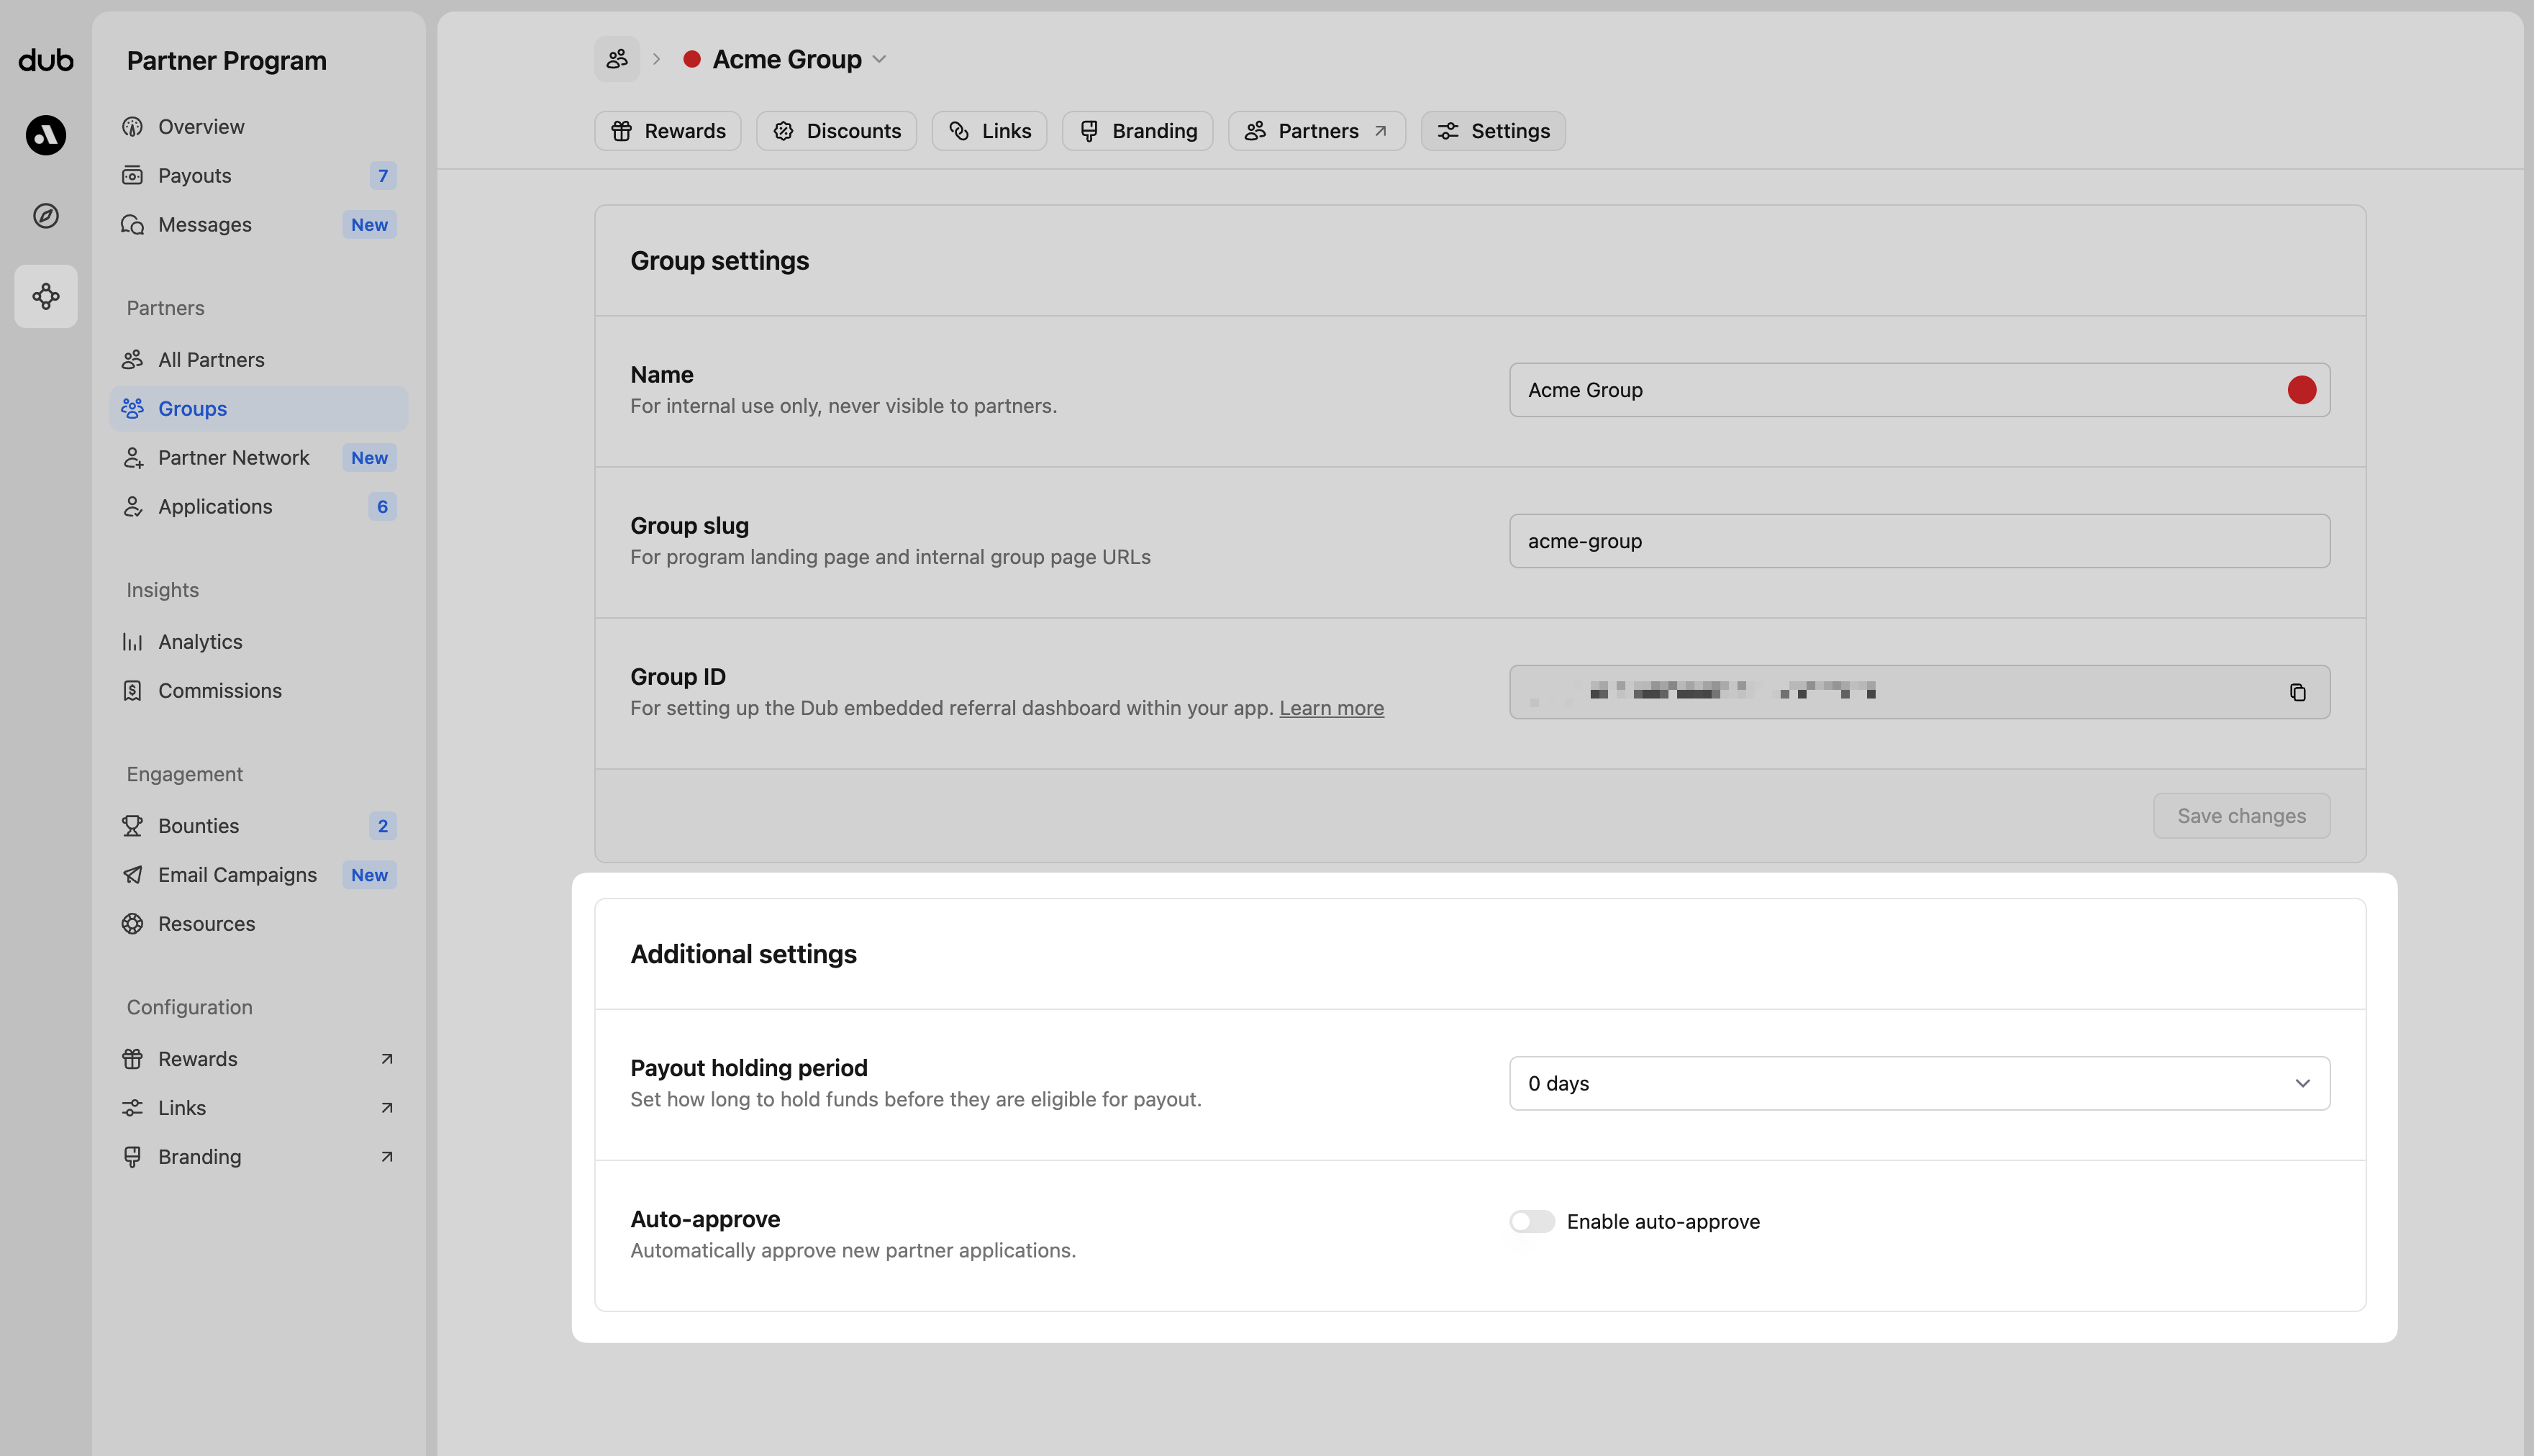
Apply to all groups before confirming. The change will take effect right away.
Rejecting applicants
Similar to the approval process, you can reject an application from the applicant form or use bulk selection for more than one applicant at a time.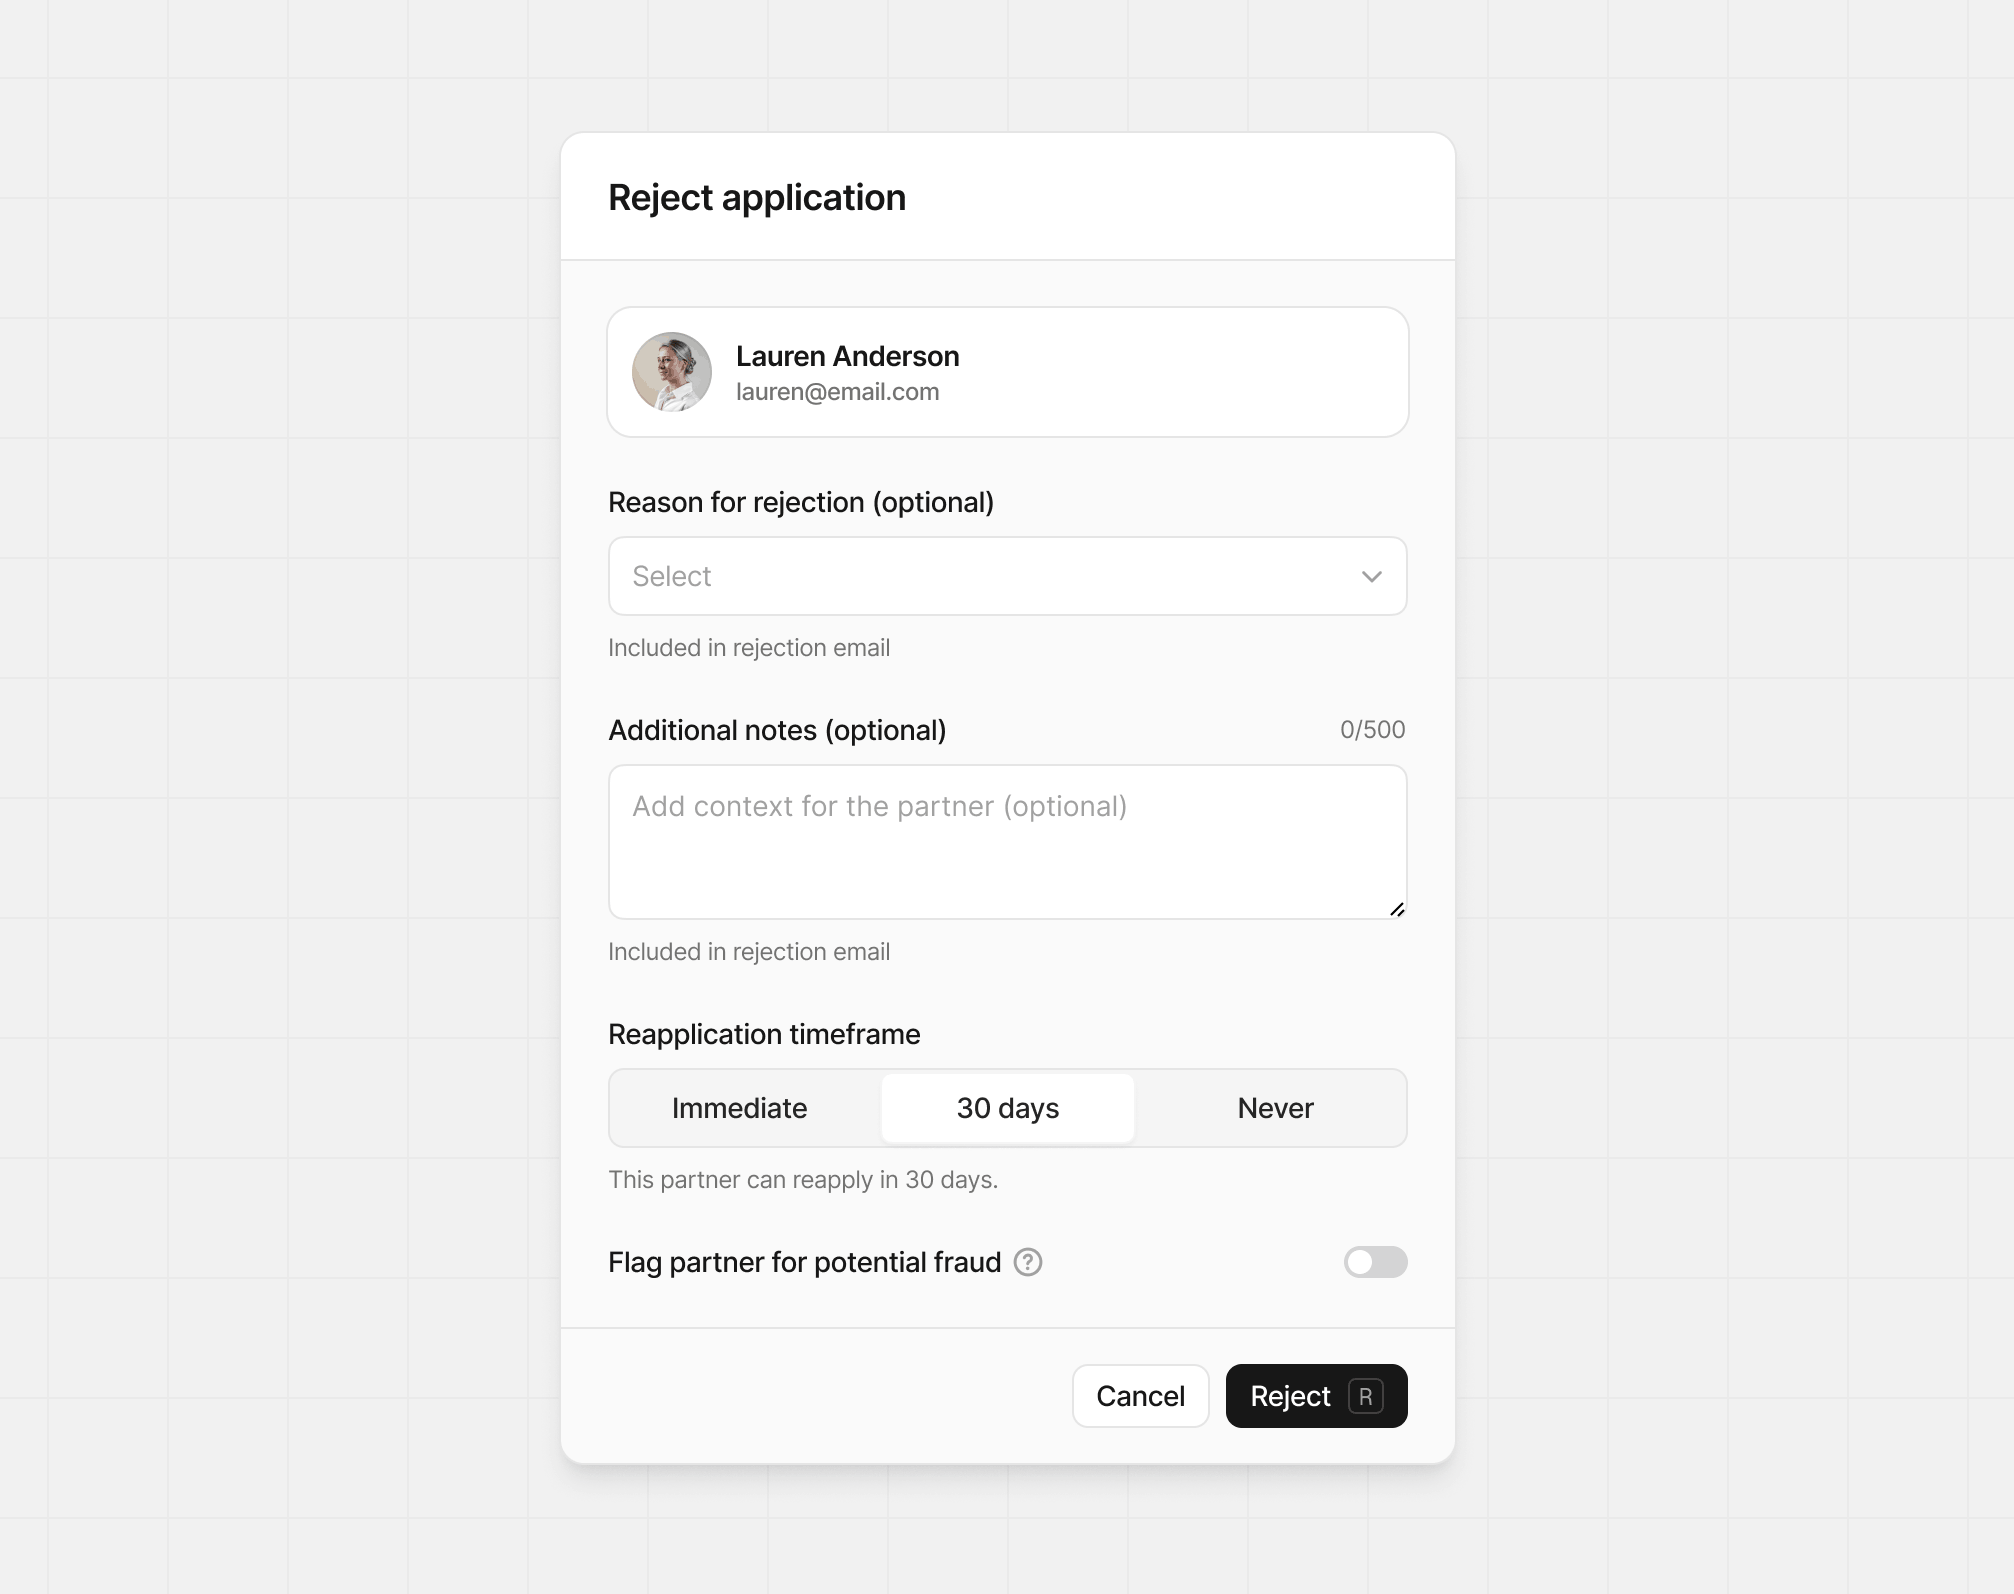
Optional fields
When rejecting an applicant, optionally you can add:- Reason for rejection - Select from a list of common reasons for the rejection.
- Add additional notes - Provide more context to the applicant about why they were rejected, and what they can do to improve their chances in the future.
Reapplication timeframe
By default, rejected applicants cannot reapply to your program for 30 days, but you can allow them to reapply immediately if you think they have potential and want to give them another chance, or set to Never to block them from reapplying at again.Flagging for potential fraud
If you have concerns about the legitimacy of an applicant, you can flag them for potential fraud. This will trigger a review by our team and may result in a ban from all programs on Dub if fraudulent behavior is confirmed. Please provide as much information as possible in the notes when flagging for fraud to help our team with the review.Approving a previously rejected partner
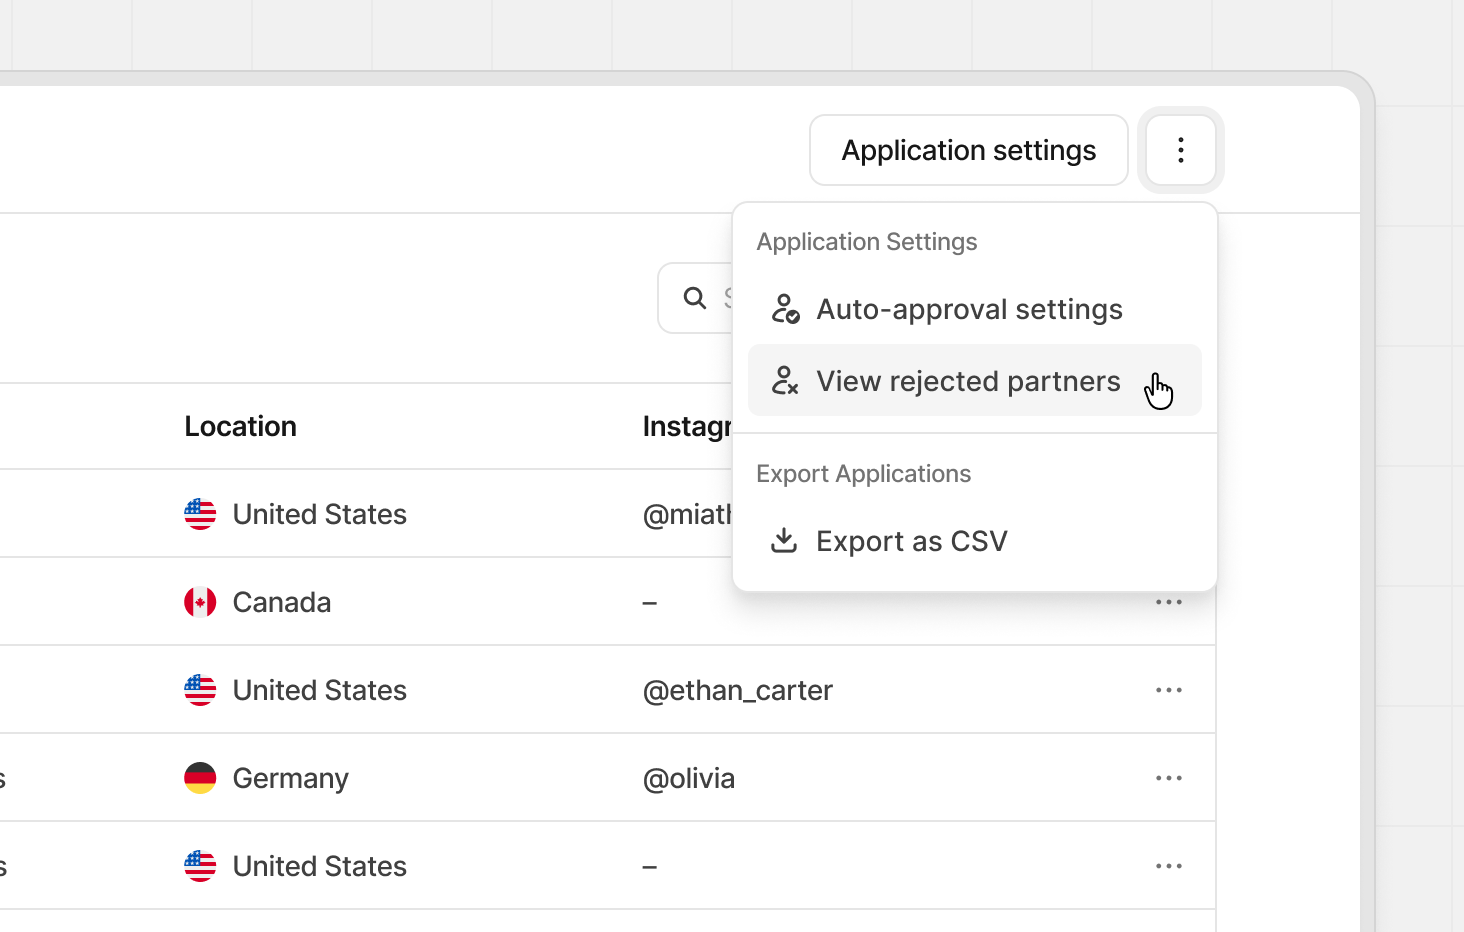
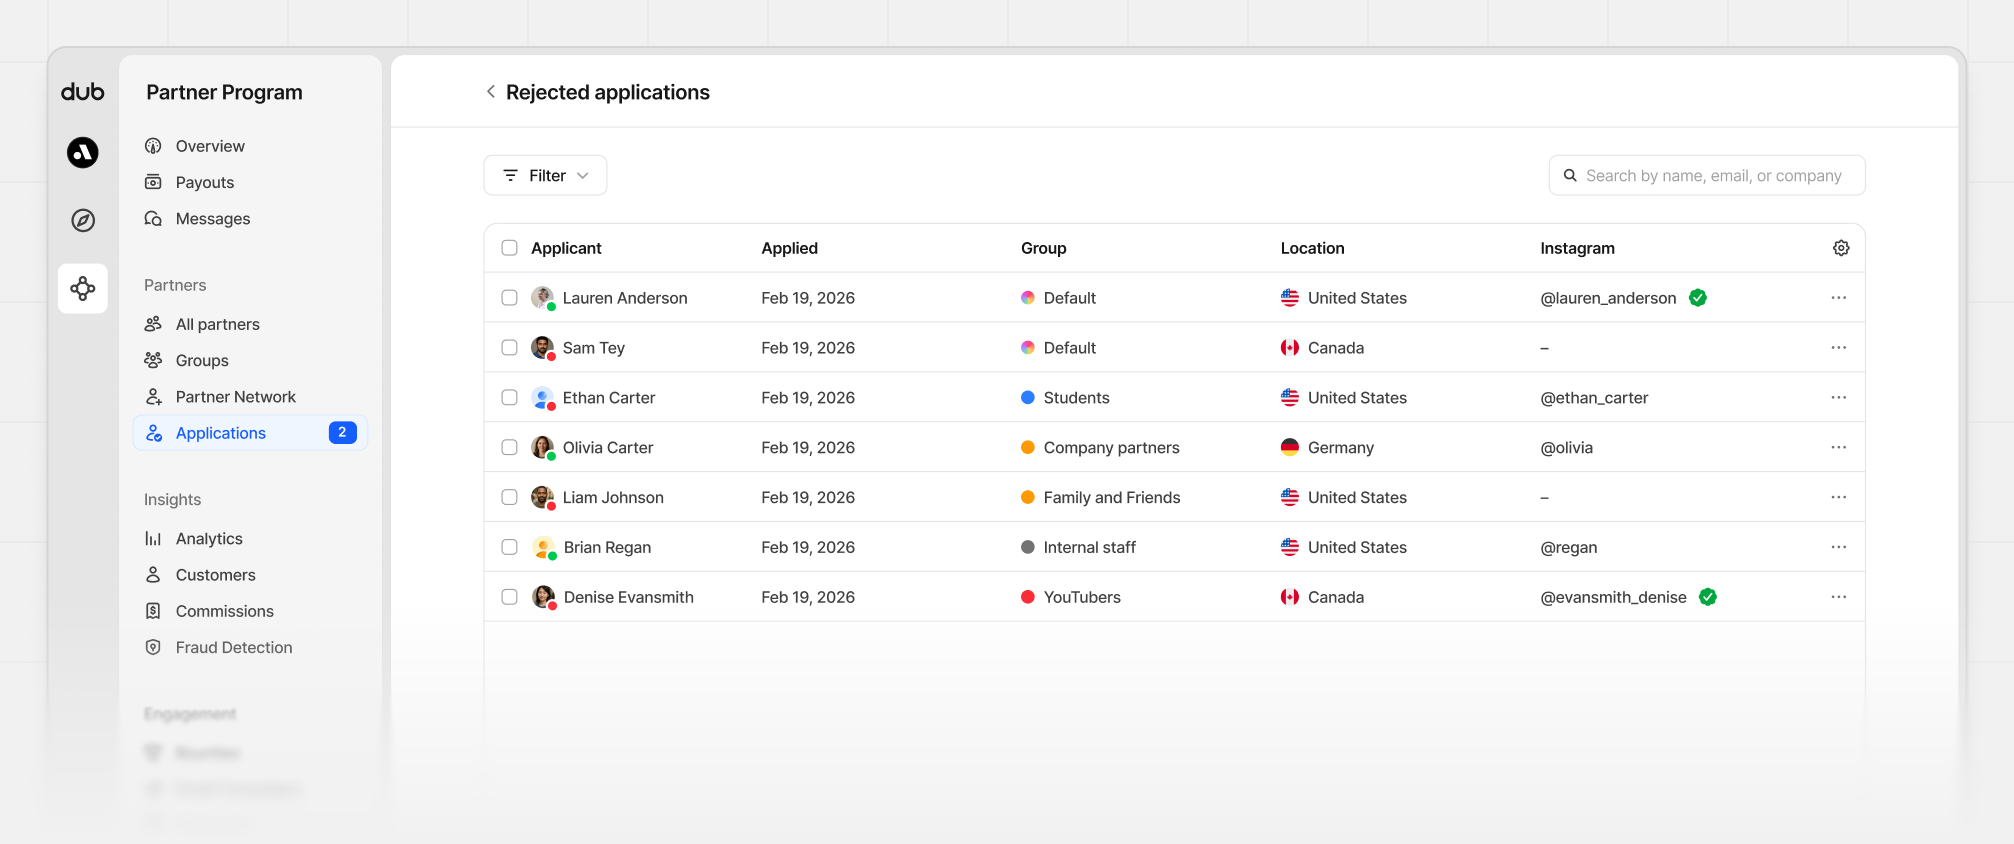
If you rejected a partner by mistake, or have changed your decision, you can approve them at any time. Open the⋮ menu in the Applications view and select View rejected partners.